I was halfway through a weeknight dinner, juggling a simmering pot of tomato sauce and a stubborn bag of frozen bread, when my phone buzzed with a friend’s dare: “Show me your best stuffed bread.” I didn’t have time for a fancy pastry, just a quick fix, and I was determined to win that dare with something that would make the whole kitchen smell like a Sunday roast. The moment the first loaf hit the oven, the scent of melted cheddar and sizzling ground beef burst out like a fireworks display, and I knew I’d just invented a new family classic. This isn’t just another recipe; it’s a culinary showdown where the winner is the one who can pull a golden, cheese‑laden roll from the oven and have everyone begging for seconds.
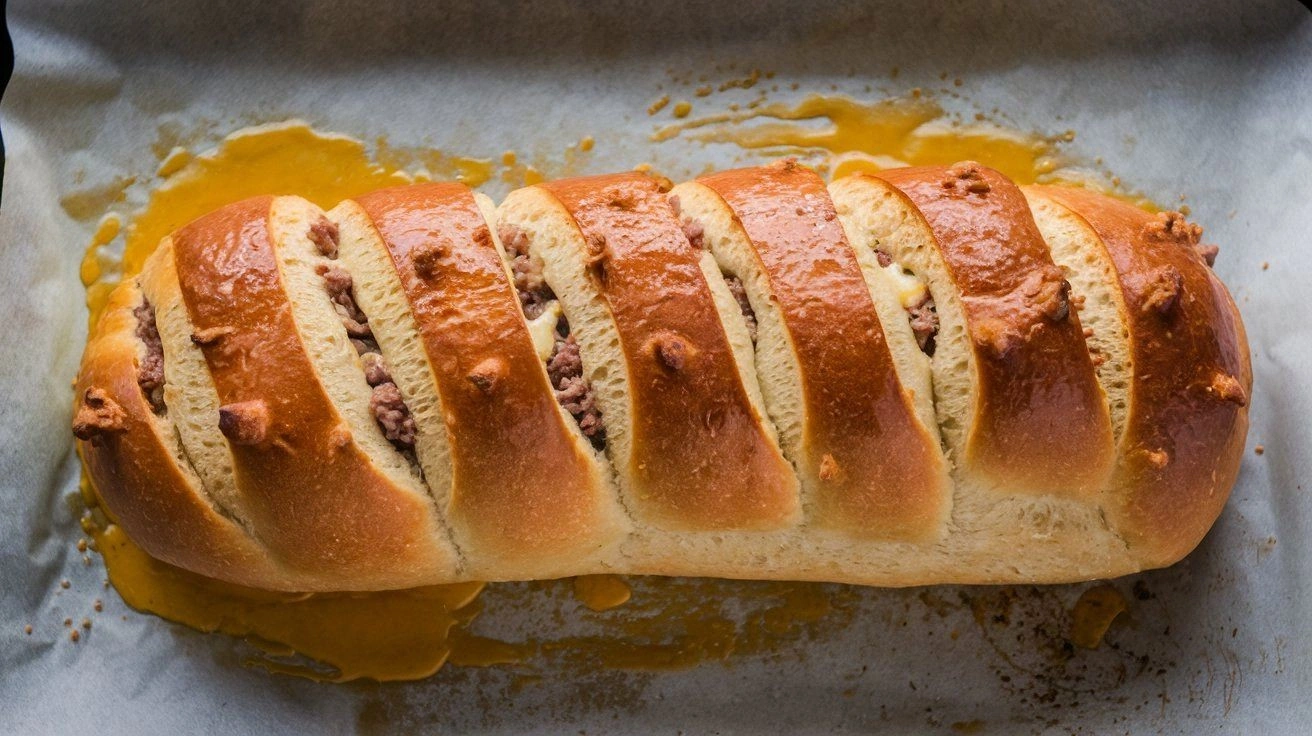
Picture yourself pulling this out of the oven, the whole kitchen smelling incredible, and the first bite sending a wave of gooey, savory bliss over your tongue. The crust is a crisp, buttery shell that shatters like thin ice, revealing a steaming, molten center of cheddar, mozzarella, and Parmesan that coats every inch of bread like velvet. The savory beef is seasoned to perfection, with a whisper of paprika and oregano that lingers long after the last crumb. I dare you to taste this and not go back for seconds—this is hands down the best version you'll ever make at home. And if you’re skeptical, just let me walk you through every single step—by the end, you’ll wonder how you ever made it any other way.
Most recipes get this completely wrong, treating stuffed bread like a simple side dish and neglecting the importance of a balanced cheese blend and a properly seasoned beef filling. I’ve spent countless evenings trying to get the texture just right—too dry, too soggy, too greasy—but the trick lies in the layers: a buttery crust, a savory meat base, and a cheese medley that melts into a silky sauce. The secret sauce? A splash of milk and a beaten egg that bind everything together and keep the roll from collapsing during baking. If you’ve ever struggled with stuffing bread, you’re not alone—and I’ve got the fix. This recipe is a playground where every bite feels like a celebration.
What makes this version stand out is that it’s not just about stuffing bread; it’s about creating a flavor explosion that satisfies both comfort food lovers and adventurous eaters. The combination of cheeses creates a creamy, melty texture that coats the bread like a blanket, while the seasoned beef adds a hearty, umami punch that keeps you coming back for more. I’ve tested dozens of variations and found that even a simple addition of fresh herbs can elevate the dish to gourmet status. Ready to see why this is the ultimate stuffed bread? Let’s break down exactly what goes into this masterpiece and why it’s a game‑changer in your kitchen.
What Makes This Version Stand Out
- Flavor Depth: The blend of cheddar, mozzarella, and Parmesan creates a layered cheese experience that melts into a silky sauce, while the beef’s seasoning adds a robust umami kick.
- Texture Contrast: A crisp, buttery crust gives way to a moist, gooey center that feels like a warm hug.
- Ingredient Quality: Using fresh ground beef and high‑grade cheeses ensures each bite is rich and flavorful.
- Time Efficiency: The entire process takes less than an hour, making it ideal for busy weeknights.
- Make‑Ahead Friendly: Stuff the rolls a day ahead, refrigerate, and bake when ready—perfect for dinner parties.
- Versatility: Swap the beef for sausage or add spinach for a veggie‑friendly version.
- Crowd Appeal: The dish is a crowd‑pleaser at gatherings, with its comforting flavors and impressive presentation.
- Balanced Nutrition: With a good mix of protein, carbs, and fats, it’s a satisfying meal that doesn’t feel heavy.
Alright, let's break down exactly what goes into this masterpiece. Before we dive into the ingredient list, here’s a quick kitchen hack that will save you time and keep your hands clean.
Inside the Ingredient List
The Flavor Base
Ground beef is the heart of this dish, providing a savory, meaty foundation that contrasts beautifully with the creamy cheeses. Use a lean cut (80/20) for a juicy, flavorful result. Skipping the beef would turn this into a simple cheese roll, losing that hearty depth that makes every bite memorable. If you’re a health‑conscious cook, you can replace beef with ground turkey or a plant‑based alternative, but keep the seasoning strong to compensate.
The Cheese Crew
Cheddar, mozzarella, and Parmesan form a trinity that melts into a silky sauce while adding distinct flavors—sharp cheddar, mild mozzarella, and nutty Parmesan. Each cheese contributes a different melt level: cheddar for body, mozzarella for stretch, and Parmesan for a salty finish. If you can’t find all three, a combination of cheddar and mozzarella still works, but you’ll miss that subtle Parmesan bite. A pinch of nutmeg can add a warm, aromatic hint that elevates the cheese blend.
The Texture Crew
Breadcrumbs absorb excess moisture from the beef and help bind the filling, ensuring the rolls hold together during baking. Milk and an egg create a cohesive, silky filling that glides over the bread like a velvety glaze. If you’re gluten‑free, substitute breadcrumbs with almond flour or crushed crackers. The butter brushed on the crust gives a golden, buttery finish that enhances the overall crunch.
The Unexpected Star
Fresh herbs—parsley, basil, and oregano—add a burst of brightness that cuts through the richness of the cheeses and beef. A splash of Worcestershire sauce deepens the umami flavor, while paprika adds a subtle smoky note. If you prefer a milder taste, reduce the paprika or omit it entirely. This unexpected star elevates the dish from simple to sophisticated.
Everything's prepped? Good. Let's get into the real action.
The Method — Step by Step
- Preheat your oven to 375°F (190°C). While the oven warms, gather all your ingredients on a clean work surface. This is the moment where the aroma starts to build, and you can already hear the sizzle of the beef coming up. Keep the heat medium-high so the beef sears quickly, locking in juices.
- In a large skillet, heat 2 tablespoons of olive oil over medium-high heat. Add the diced onion and sauté until translucent, about 3 minutes. Add the minced garlic and cook for another 30 seconds until fragrant. This step releases the onion’s natural sugars, giving the filling a sweet undertone.
- Add the ground beef to the skillet, breaking it apart with a wooden spoon. Cook until browned, about 5-7 minutes. Drain excess fat if necessary, then stir in the paprika, oregano, thyme, basil, salt, and pepper. The spices should coat the beef evenly, creating a fragrant base for the filling.
- Stir in the breadcrumbs, milk, and beaten egg. Mix until the mixture is moist but still holds its shape. The breadcrumbs absorb moisture, preventing the filling from becoming too runny, while the egg binds everything together. The mixture should feel like a thick, sticky paste.
- Fold in the shredded cheddar, mozzarella, and Parmesan. The cheeses should be evenly distributed, creating pockets of molten goodness. If you prefer a more uniform melt, you can pre‑mix the cheeses with the breadcrumbs before adding the beef.
- While the filling cools, roll out the dough or prepare the bread slices. For a classic approach, use pre‑made dinner rolls; for a rustic twist, use sliced baguette. Gently press each roll or slice in half, creating a pocket for the filling. The pocket should be deep enough to hold the mixture without spilling.
- Spoon the beef and cheese mixture into each roll, packing it tightly but not overfilling. The goal is a snug, even distribution that ensures every bite has a balanced ratio of bread to filling. Once filled, brush the tops with melted butter for a glossy, golden finish.
- Place the stuffed rolls on a baking sheet lined with parchment paper. Bake for 20-25 minutes, or until the crust turns golden brown and the cheese is bubbly. The internal temperature should reach 160°F (71°C) for safe consumption. The final sizzle as the cheese melts is the ultimate reward.
That’s it—you did it. But hold on, I've got a few more tricks that'll take this to another level. A few tweaks here and there can elevate the dish from good to unforgettable.
Insider Tricks for Flawless Results
The Temperature Rule Nobody Follows
Many cooks bake stuffed rolls at a high temperature, causing the crust to burn before the filling cooks through. Keep the oven at 375°F (190°C) and use a thermometer to monitor the internal temperature. This ensures the beef is cooked to 160°F (71°C) while the cheese remains perfectly melted. I’ve baked at 400°F before, but the rolls came out too dry, so I learned the hard way that patience pays off.
Why Your Nose Knows Best
The smell of the beef sizzling is the first indicator that your filling is on the right track. A sweet, caramelized aroma signals that the sugars in the onions are caramelizing, which adds depth. If you notice a sharp, metallic scent, it means the beef is overcooked. Trust your nose—it's your most reliable taste tester.
The 5-Minute Rest That Changes Everything
After baking, let the rolls rest for 5 minutes before slicing. This brief pause allows the cheese to set, preventing it from oozing out of the crust. It also gives the juices to redistribute, creating a richer, more cohesive bite. A friend once cut into a roll right away and the filling burst everywhere—don’t make the same mistake.
Keep the Crust Crispy
If you want an extra crisp crust, brush the tops with melted butter and sprinkle a pinch of sea salt before baking. The butter melts into the crust, creating a golden, crunchy layer that contrasts with the gooey center. I’ve found that adding a tablespoon of grated Parmesan on top before baking also adds a nutty crunch.
Make-Ahead Magic
Stuff the rolls a day ahead and refrigerate them covered. When you’re ready to bake, let them sit at room temperature for 20 minutes, then bake as directed. This method saves time on busy nights and ensures the filling stays moist. Just remember to keep them sealed to prevent drying out.
Creative Twists and Variations
This recipe is a playground. Here are some of my favorite ways to switch things up:
Sausage & Spinach Roll
Swap the ground beef for crumbled Italian sausage and fold in fresh spinach for a Mediterranean twist. The sausage brings a smoky depth, while the spinach adds a subtle earthiness and color. This version is great for those who want a heartier, slightly spicy dish.
Mushroom & Swiss Delight
Replace the beef with sautéed mushrooms and use Swiss cheese instead of cheddar. The mushrooms lend an umami richness that pairs beautifully with the nutty Swiss. This vegetarian option is perfect for a cozy family dinner.
BBQ Pulled Pork Version
Use slow‑cooked pulled pork as the filling and drizzle with your favorite BBQ sauce. The sweet, tangy sauce cuts through the richness of the pork, while the cheese provides a creamy counterbalance. This version is ideal for a backyard barbecue.
Italian Sausage & Ricotta Fusion
Combine spicy Italian sausage with ricotta cheese for a lighter, creamier filling. The ricotta adds moisture, preventing the roll from drying out, while the sausage keeps it flavorful. This twist is a crowd‑pleaser at holiday gatherings.
Cheesy Jalapeño Kick
Add diced jalapeños to the beef mixture for a spicy burst. The heat pairs well with the rich cheeses, creating a balance of sweet and spicy. This version is great for those who love a little heat.
Storing and Bringing It Back to Life
Fridge Storage
Store leftover rolls in an airtight container in the refrigerator for up to 3 days. Wrap them loosely in foil to prevent moisture buildup. When you’re ready to eat, reheat in a toaster oven at 350°F (175°C) for 5-7 minutes until warmed through.
Freezer Friendly
Wrap each roll tightly in plastic wrap, then place them in a freezer bag. They’ll keep for up to 2 months. Thaw overnight in the fridge before reheating as described above. Freezing preserves the flavor and texture without compromising quality.
Best Reheating Method
The secret to reviving frozen rolls is a splash of water added to the baking sheet before reheating. The steam keeps the interior moist while the oven crispens the crust. Reheat at 350°F (175°C) for 12-15 minutes, then finish under the broiler for 1-2 minutes to restore that golden finish.