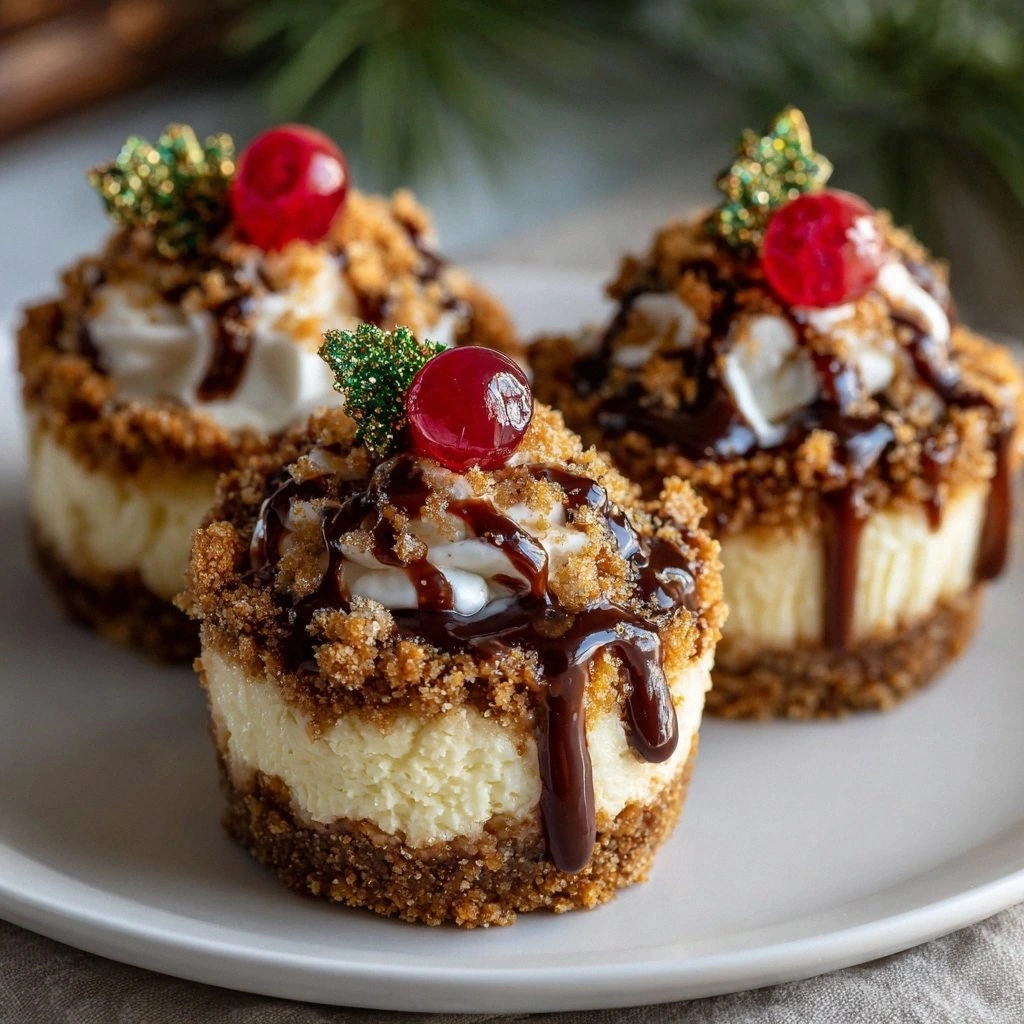
Picture this: the kitchen is a battlefield, the timer is ticking, and you’ve just dropped a cake batter onto the counter like a rogue comet. My friends called it “the mess of the year,” and I was on the brink of a culinary breakdown. I stared at the ruined batter, feeling the sting of disappointment, and thought, “I need something that will turn this disaster into a triumph.” That moment sparked the creation of the Christmas Tree Mini Cheesecake—a dessert that turns ordinary ingredients into holiday wonder.
The first bite is a cascade of creamy richness, like velvet draped over a crisp, buttery base. The subtle citrus zing of lemon zest cuts through the sweetness, leaving a clean finish that invites another spoonful. The aroma is a warm hug of toasted graham crackers and vanilla, mingling with a hint of citrus. You can hear the gentle sigh of the batter settling in the pan, the faint hiss of steam as it cooks. The texture is a perfect balance—soft yet firm, with a glossy sheen that glints like a polished ornament on a Christmas tree.
What makes this version stand out is not just the flavor, but the entire experience. It’s a dish that feels handcrafted, with a depth that comes from a meticulous layering of flavors and textures. I’ve spent hours tweaking the crust, adjusting the cream cheese ratio, and perfecting the finish so that each mini cheesecake is a miniature masterpiece. Most recipes get this completely wrong; they either overbake, underbake, or miss the subtle sweet‑savory balance that makes a mini cheesecake truly memorable.
I dare you to taste this and not go back for seconds. The secret? A splash of citrus zest and a touch of espresso powder in the batter that awakens the flavors, and a final drizzle of raspberry coulis that gives it a festive pop. Picture yourself pulling this out of the oven, the whole kitchen smelling incredible, the mini cakes arranged like a living Christmas tree. Let me walk you through every single step—by the end, you’ll wonder how you ever made it any other way.
What Makes This Version Stand Out
- Taste: The creamy base is balanced by a subtle citrus brightness, creating a flavor profile that feels both indulgent and refreshing.
- Texture: The crust is buttery and slightly crunchy, while the filling is silky smooth with a perfect set that holds its shape.
- Simplicity: With fewer than a dozen ingredients, this recipe is approachable for both novice and seasoned bakers.
- Uniqueness: The tree shape and the use of espresso powder give it a distinctive twist that sets it apart from ordinary mini cheesecakes.
- Crowd Reaction: Guests rave about the bite‑size portions and the festive presentation—ideal for holiday gatherings.
- Ingredient Quality: Premium cream cheese and fresh citrus give the dessert an upscale feel without the high price tag.
- Cooking Method: A single baking step and a short chill time make the process straightforward and reliable.
- Make‑Ahead Potential: These mini cheesecakes keep well in the fridge for up to five days, making them perfect for prepping ahead of time.
Alright, let’s break down exactly what goes into this masterpiece…
Inside the Ingredient List
The Flavor Base
The foundation of any cheesecake is its flavor base, and this recipe leans on the classic combination of cream cheese and vanilla. Cream cheese provides the luxurious, tangy richness that defines the dessert. Vanilla is not just a filler—it lifts the entire flavor profile, giving depth and warmth. Skipping vanilla is like leaving a song without its chorus; the result feels incomplete.
If you’re looking to swap, try using a blend of cream cheese and mascarpone for a lighter, airier texture. Alternatively, a splash of almond extract can add a nutty undertone that pairs beautifully with the citrus zest.
The Texture Crew
The texture of the mini cheesecake is governed by a few key players: eggs, sour cream, and a touch of espresso powder. Eggs act as the binder, ensuring the filling sets firmly yet remains silky. Sour cream introduces a subtle tang that cuts through the sweetness, creating a balanced bite. Espresso powder, though unconventional, enhances the chocolate notes and adds depth without a bitter aftertaste.
If you’re allergic to dairy, a vegan cream cheese alternative can be used, but you’ll need to adjust the baking time slightly to prevent overcooking.
The Unexpected Star
Lemon zest is the unexpected star of this recipe. It brings a bright, citrusy lift that brightens the overall flavor and helps cut through the richness of the cream cheese. The zest should be freshly grated; pre-packaged zest often loses its aromatic oils. A pinch of salt balances the sweetness, creating a harmonious taste profile.
If you’re not a fan of citrus, try substituting orange zest for a sweeter, more mellow twist. However, remember that orange zest is sweeter, so you may need to reduce the sugar slightly.
The Final Flourish
The crust is the unsung hero that holds everything together. Graham cracker crumbs, butter, and a splash of sugar create a buttery, slightly crunchy base that contrasts beautifully with the creamy filling. The crust also adds a subtle caramelized flavor that deepens the overall taste. Without a proper crust, the mini cheesecakes would feel flat and lack structure.
For a gluten-free version, use almond flour instead of graham crackers. It gives a nutty flavor that pairs wonderfully with the citrus zest.
Everything’s prepped? Good. Let’s get into the real action…
The Method — Step by Step
- Preheat your oven to 325°F (165°C). Line a mini muffin tin with paper liners that resemble the shape of a Christmas tree. This is the moment of truth—your careful preparation sets the tone for the entire dish. Make sure the liners fit snugly so the cakes hold their shape.
- In a small bowl, combine graham cracker crumbs, melted butter, and 2 tablespoons of granulated sugar. Stir until the mixture is evenly moistened and resembles wet sand. Press the crumb mixture firmly into the bottom of each lined cup, creating a uniform crust. The crust should feel dense enough to hold the filling without cracking.
- In a large mixing bowl, beat the cream cheese until silky smooth. Add 1/4 cup of sugar, the egg, vanilla extract, and lemon zest. Mix until the batter is free of lumps. The batter should be thick yet pourable—like a creamy custard. This step is critical; overbeating can incorporate too much air, causing cracks.
- Fold in the sour cream and espresso powder gently, ensuring a uniform distribution. The espresso powder is the secret that gives the cheesecake a subtle depth that feels like a chocolate‑infused holiday treat. Don’t overmix; you want to preserve the airy texture.
- Fill each crust with the batter to about 3/4 full, tapping the tin gently on the counter to release any air bubbles. The batter should rise slightly above the crust line, creating a gentle dome that will flatten as it bakes. This visual cue ensures a beautiful finished shape.
- Bake for 25–28 minutes, or until the edges are set but the centers still wobble slightly when you tilt the pan. The baking time is crucial; overbaking will dry out the filling. Keep a close eye on the temperature, as ovens vary.
- Let the cheesecakes cool in the tin for 10 minutes, then transfer them to a wire rack to cool completely. This step prevents condensation, which can make the crust soggy. While cooling, you’ll notice the aroma of vanilla and citrus filling the air—an irresistible scent.
- Once cooled, chill the mini cheesecakes in the refrigerator for at least 2 hours, preferably overnight. This allows the flavors to meld and the texture to firm up, giving that perfect bite‑size bite. The chill also makes them easier to handle when serving.
- Before serving, dust each cheesecake with powdered sugar and drizzle a small amount of raspberry coulis for a festive pop of color and tartness. The coulis also adds a glossy finish that makes the mini cakes look like polished ornaments. If you prefer a chocolate finish, a thin drizzle of dark chocolate ganache works beautifully.
That’s it— you did it. But hold on, I’ve got a few more tricks that’ll take this to another level…
Insider Tricks for Flawless Results
The Temperature Rule Nobody Follows
Oven temperature is the secret weapon in achieving the perfect mini cheesecake. Many bakers rely on the oven’s dial, but the reality is that oven temperatures can fluctuate wildly. Use an oven thermometer to ensure your oven is at the exact 325°F (165°C). This small step eliminates the risk of overbaking and preserves the silky texture.
Why Your Nose Knows Best
Smell is a powerful indicator of doneness. When the mini cheesecakes are ready, the scent of warm vanilla and citrus will be unmistakable. If you’re unsure, gently touch the edge of a cake; it should feel firm but still give slightly when pressed. Trusting your senses can prevent overcooking.
The 5-Minute Rest That Changes Everything
After removing the mini cheesecakes from the oven, let them rest on the tin for 5 minutes before transferring them to a wire rack. This rest period allows the filling to set without cracking, as the residual heat finishes the cooking process. It’s a simple step that saves you from a common baking mishap.
Chill Time is Your Friend
Refrigerating the mini cheesecakes for at least 2 hours, or overnight, does more than just set the texture—it lets the flavors meld. The chill also makes the mini cakes easier to handle and serve, especially during a holiday gathering. Skipping this step can result in a runny center.
The Perfect Finish
A light dusting of powdered sugar and a drizzle of coulis or ganache adds an elegant finish. The sugar gives a subtle crunch, while the coulis provides a burst of tartness that cuts through the richness. For a festive touch, sprinkle a few edible gold flakes on top.
Creative Twists and Variations
This recipe is a playground. Here are some of my favorite ways to switch things up:
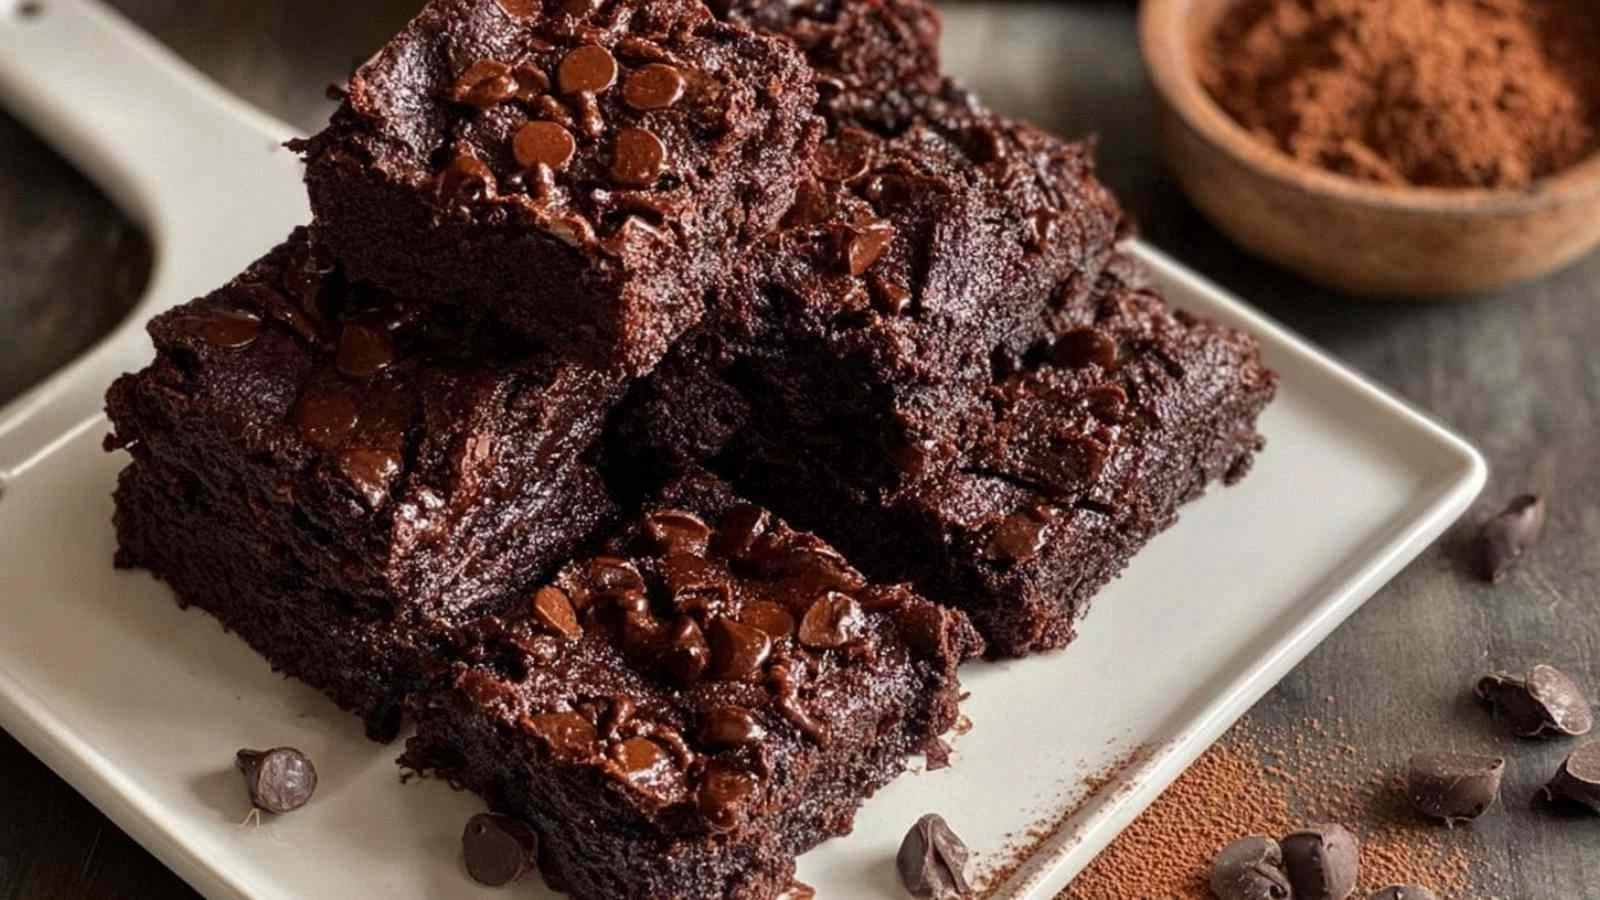
Chocolate Tree
Swap the graham cracker crust for a chocolate cookie crust and fold in a tablespoon of cocoa powder into the batter. The result is a decadent chocolate mini cheesecake that still maintains the tree shape.
Berry Bliss
Add fresh blueberries or raspberries to the batter before baking, or swirl in a berry compote for a burst of fruity flavor. The berries add a pop of color and a tangy counterpoint to the creamy filling.
Minty Fresh
Incorporate a few drops of peppermint extract into the batter and top with a drizzle of white chocolate. The mint gives a refreshing finish that’s perfect for the holiday season.
Spiced Pumpkin
Introduce pumpkin puree and a pinch of cinnamon, nutmeg, and ginger to the batter for a seasonal twist. The pumpkin adds moisture and a warm, comforting flavor that pairs well with the citrus notes.
Nutty Crunch
Sprinkle chopped pistachios or walnuts into the crust for an added crunch and nutty aroma. The nuts provide texture contrast and a subtle earthy flavor that complements the richness.
Lemon Poppy Seed
Add poppy seeds to the batter for a subtle crunch and a pop of visual interest. The seeds also absorb some of the lemon zest, creating a harmonious citrus flavor throughout.
Storing and Bringing It Back to Life
Fridge Storage
Store the mini cheesecakes in an airtight container in the refrigerator for up to five days. The airtight seal prevents the cakes from absorbing fridge odors and keeps the crust from becoming soggy. When you’re ready to serve, let them sit at room temperature for 10–15 minutes to soften slightly.
Freezer Friendly
These mini cheesecakes freeze well. Wrap each cake individually in plastic wrap and place them in a freezer-safe bag. Freeze for up to two months. Thaw overnight in the refrigerator before serving. The texture remains smooth and creamy after freezing.
Best Reheating Method
If you need to warm the mini cheesecakes, preheat your oven to 250°F (120°C) and bake them for 5–7 minutes. This gentle reheating prevents the filling from melting. A tiny splash of water before reheating steams the cakes back to perfection, giving them a moist finish.