I was standing in the kitchen, watching the pot of cauliflower bubble over the stove, when my friend dared me to create a butter that would outshine the dairy version. The idea sounded absurd—how could a plant‑based mash turn into something buttery? But the scent of steam, the gentle hiss of the water, the bright green florets staring back at me, all conspired to make this a culinary experiment worth taking. I knew the moment would be a disaster if I didn’t get the texture right, but the promise of a silky, savory spread that could replace butter in every dish kept me focused.
I tossed the cauliflower into a pot, let it simmer until tender, and then blended it with plant milk and nutritional yeast. The kitchen filled with a nutty, umami aroma that made my mouth water. My taste buds anticipated a buttery finish, while my eyes scanned the pot for any signs of over‑blending. I could feel the anticipation building, like a drumbeat before a concert. The first spoonful hit my tongue: creamy, with a faint earthiness, and a subtle sweetness that balanced the richness.
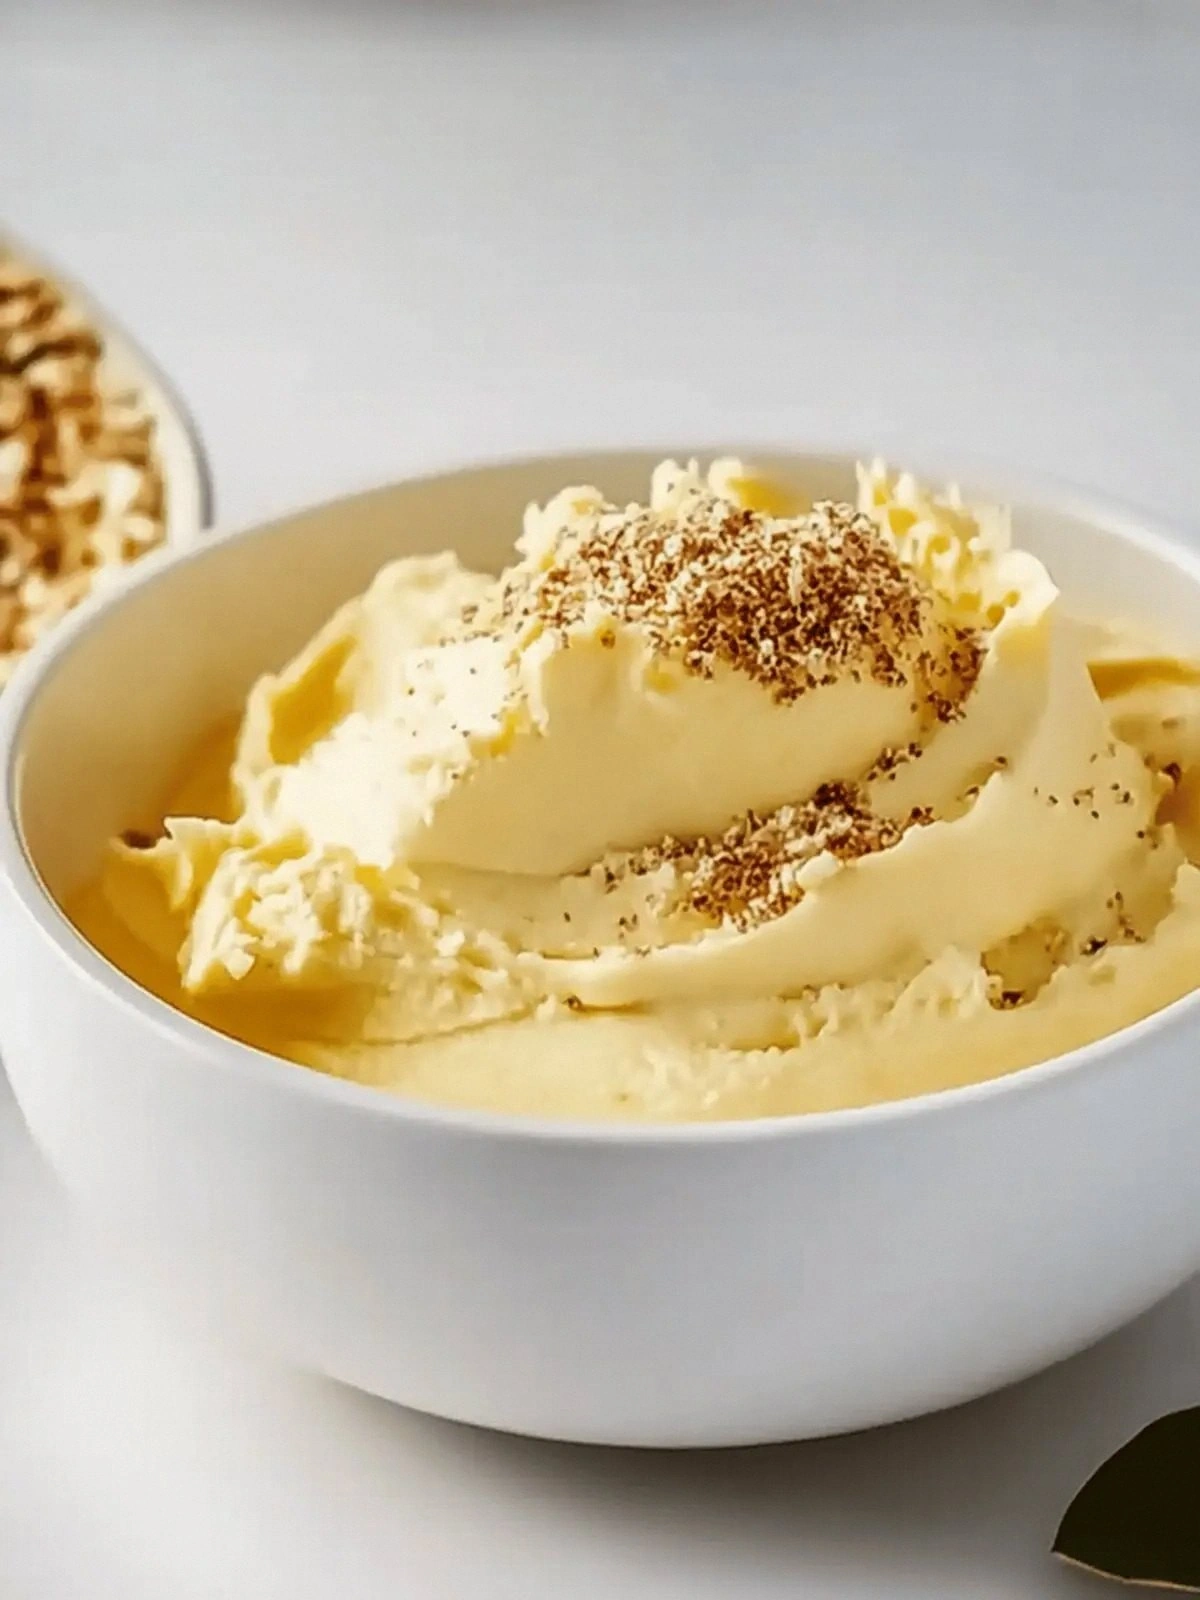
This isn’t just a vegan butter; it’s a revelation. The texture is thick enough to coat pasta like velvet yet light enough to melt into sauces. The flavor profile is a harmonious blend of cauliflower, nutritional yeast, and a whisper of garlic, all lifted by a gentle sweetener. Most recipes get this completely wrong, using heavy oils or adding too much liquid. Here, the cauliflower acts as the base, the yeast adds depth, and the plant milk brings the right consistency. The result is hands down the best version you’ll ever make at home, and I’m ready to spill all the secrets.
Picture yourself pulling this out of the fridge, the whole kitchen smelling incredible, and spreading it on warm bread or swirling it into a pan of sautéed vegetables. I dare you to taste this and not go back for seconds. Let me walk you through every single step—by the end, you’ll wonder how you ever made it any other way.
What Makes This Version Stand Out
- Flavor Depth: The cauliflower’s mild earthiness is amplified by nutritional yeast, creating a savory umami core that feels buttery without dairy.
- Texture Perfection: The blend of cooked cauliflower and plant milk achieves a silky smoothness that coats food like a fine glaze.
- Simple Ingredients: Only six items, all plant‑based, mean you can whip this up in minutes with pantry staples.
- Versatility: Use it as a spread, a sauce base, or a cooking fat; it adapts to soups, stir‑fries, and baked goods.
- Make‑Ahead Friendly: It sets in the fridge and can be frozen for up to a month, making it a pantry staple.
- Low Allergy Profile: Free from dairy, eggs, and nuts, this butter is safe for most common allergies.
- Environmental Impact: Using cauliflower, a low‑water crop, reduces your carbon footprint compared to traditional butter.
- Health Conscious: It contains no added fats, only the natural oils from cauliflower, making it a cleaner alternative.
Alright, let's break down exactly what goes into this masterpiece…
Inside the Ingredient List
The Flavor Base
Cauliflower: The star of the show, cauliflower provides the bulk and a mild, slightly sweet flavor that forms the buttery foundation. When cooked until tender, it breaks down into a creamy texture that’s perfect for blending. If you skip it, you’ll lose the body and the subtle earthiness that makes this butter feel like a real spread.
Plant Milk: Adds moisture and helps achieve that silky consistency. A soy or oat milk works best because of their neutral taste and smooth texture. If you prefer a thicker butter, use coconut milk; if you want a lighter version, use almond milk.
The Texture Crew
Nutritional Yeast Flakes: These flakes are the secret sauce, delivering a deep umami flavor that mimics the richness of dairy butter. They also add a slight nutty undertone and a hint of cheese‑like aroma. Swapping them for miso paste can give a different depth, but you’ll lose the buttery feel.
Sweetener: A touch of maple syrup or agave balances the earthiness and adds a subtle caramel note. Too much sweetener will overpower the savory profile; too little will make it feel flat. A light drizzle is enough to bring everything together.
The Unexpected Star
Garlic Powder: Adds a punch of flavor without the bulk of fresh garlic. It’s the quiet hero that makes the butter feel more complex and aromatic. If you’re sensitive to garlic, replace it with onion powder for a milder kick.
Salt: Enhances every component and brings the flavors to life. A pinch of sea salt or Himalayan pink salt gives a subtle mineral finish. Be careful not to over‑salt; taste as you go.
Everything's prepped? Good. Let's get into the real action…
The Method — Step by Step
- Begin by cutting your cauliflower into florets and steaming them in a pot of salted water for 8–10 minutes, or until they’re fork‑tender. The key is to avoid over‑cooking; you want the florets to hold some structure so they blend smoothly. As the steam rises, the kitchen will fill with a subtle, comforting aroma that’s almost like a hug.
- Drain the cauliflower and transfer it to a high‑speed blender or food processor. Add the plant milk, nutritional yeast flakes, sweetener, garlic powder, and salt. Blend on high until the mixture is completely smooth and creamy. If the blend seems too thick, add a splash of plant milk until you reach the desired consistency.
- Pour the mixture into a small saucepan and heat over medium heat, stirring constantly. The mixture should begin to thicken and emit a warm, toasty aroma. This step is crucial; it allows the flavors to meld and the butter to set slightly. Watch the edges; when they start to pull away from the pan, it’s a sign that the butter is ready.
- Reduce the heat to low and continue stirring for an additional 3–4 minutes, ensuring the butter does not scorch. If you notice any separation, give it another quick stir. The final product should be glossy and silky, with a consistency that’s easy to spread.
- Remove the pan from the heat and let the butter cool for a minute. This brief pause allows the mixture to thicken further and develop a richer flavor profile. At this point, you can taste it—if it’s too salty, add a dash of sweetener; if it’s too sweet, a pinch of salt will balance it.
- Transfer the cooled butter into a clean jar or airtight container. Seal it tightly and store in the refrigerator for up to a week or freeze for up to a month. The butter will firm up as it chills, making it easy to slice or scoop.
- When you’re ready to use it, simply let it sit at room temperature for a few minutes or microwave it for 10–15 seconds to soften. This butter can be spread on toast, melted over vegetables, or used as a cooking fat for sautéing.
- Remember, the beauty of this butter lies in its versatility. Try it as a base for vegan cheese sauces, a drizzle over roasted potatoes, or even a dip for fresh veggies. The possibilities are endless, and each use will bring a new dimension to the dish.
That's it — you did it. But hold on, I've got a few more tricks that'll take this to another level…
Insider Tricks for Flawless Results
The Temperature Rule Nobody Follows
Keep the heat low once the butter starts to thicken. High temperatures can cause the mixture to scorch and develop a bitter taste. I once let mine boil over, and the kitchen smelled like burnt popcorn for an hour. Stick to medium‑low and watch the edges; they’re your cue to turn down the flame.
Why Your Nose Knows Best
The aroma is your best judge of doneness. When the butter emits a warm, nutty scent and the edges begin to pull away from the pan, you’re in the sweet spot. If it still smells raw, give it another minute. Trust your nose, and you’ll never overcook.
The 5‑Minute Rest That Changes Everything
Letting the butter rest for five minutes after cooking allows the flavors to meld and the texture to set. I used to skip this step, and the butter felt too runny. After incorporating the rest period, it became firm enough to spread but still creamy when warmed.
The Sweetener Balance
The sweetener should taste like a whisper, not a shout. Too much sweetness masks the umami. If you’re using a sugar‑free sweetener, reduce the amount by half and taste as you go.
The Salt Tuning
Add salt gradually, tasting after each addition. A pinch of salt can elevate the entire butter, but too much makes it feel heavy. I learned this the hard way when I added a whole teaspoon at once and had to dilute with more plant milk.
Creative Twists and Variations
This recipe is a playground. Here are some of my favorite ways to switch things up:
Herb‑Infused Butter
Add a handful of fresh herbs like basil, thyme, or rosemary during the blending step. The herbs infuse the butter with a fragrant, green note that pairs wonderfully with grilled veggies.
Spicy Kick
Stir in a pinch of cayenne pepper or a few drops of sriracha for a subtle heat. It’s perfect for spicing up pasta sauces or giving a zing to roasted potatoes.
Smoky Flavor
Incorporate a teaspoon of smoked paprika or a splash of liquid smoke. The butter takes on a deep, smoky character that’s great for barbecue sauces.
Chocolatey Sweet Butter
Replace the sweetener with cocoa powder and a dash of vanilla extract. This version works as a decadent spread on toast or a dip for fruit.
Miso‑Rich Butter
Swap the nutritional yeast for white miso paste and reduce the sweetener. The result is a savory, umami‑laden butter that’s ideal for ramen or stir‑fries.
Coconut‑Cream Butter
Use coconut milk instead of plant milk for a tropical twist. The butter becomes slightly sweeter and carries a subtle coconut aroma, perfect for desserts or tropical sauces.
Storing and Bringing It Back to Life
Fridge Storage
Keep the butter in a sealed jar or airtight container in the refrigerator for up to one week. The cold will firm it up, making it easy to slice or spread. If it becomes too hard, let it sit at room temperature for a few minutes before using.
Freezer Friendly
Wrap the jar tightly in plastic wrap and then place it in a freezer bag. It will keep for up to three months. Thaw overnight in the fridge before using; this preserves the texture and prevents separation.
Best Reheating Method
To restore its silky consistency, microwave the butter on low for 10–15 seconds. Add a tiny splash of water or plant milk before reheating—this steams the butter back to perfection without making it oily.