I was sitting at a backyard bonfire, watching the flames lick the night sky, when my friend dared me to turn the classic s’more into something that would make the whole neighborhood beg for more. I grabbed a bag of marshmallows, tossed them into a pan of hot oil, and what came out was a golden, puff‑filled cloud that crackled like fireworks in my mouth. The moment that first bite hit my tongue, the sugary interior exploded with a melt‑in‑your‑mouth gooeyness while the crust sang a crisp, buttery chorus that was impossible to ignore. I swear, that single bite felt like a hug from a childhood memory wrapped in a daring adult twist, and I knew I had stumbled onto something truly legendary.
If you’ve ever tried to deep‑fry marshmallows before, you’ve probably ended up with soggy, greasy blobs that taste like a failed carnival game. Most recipes either skip the coating entirely or drown the marshmallow in a batter that never crisps, leaving you with a texture that’s more “soggy” than “golden.” This version, however, is a meticulously engineered balance of airy interior and crunchy exterior, achieved by a double‑coat technique that locks in the melt while giving you that satisfying snap you crave. I’m talking about a light, airy batter that clings just enough to hold the panko breadcrumb armor, which then fries to a perfect amber hue that looks like it was kissed by a sunrise.
What truly sets this recipe apart is the secret ingredient I’ll reveal later—a pinch of cinnamon folded into the breadcrumb mix that adds a whisper of warmth without overpowering the marshmallow’s natural sweetness. I’ll also show you how to control oil temperature like a pro, ensuring each marshmallow emerges with a flawless crust that doesn’t absorb excess oil. And because I’m a firm believer that a good recipe should be both spectacular and simple, I’ve stripped out any unnecessary steps, leaving you with a process that feels like a fun kitchen experiment rather than a daunting culinary marathon.
Okay, ready for the game‑changer? I dare you to taste this and not go back for seconds. By the end of this post, you’ll have a foolproof method that will make you the hero of every fair, festival, or midnight snack craving. Let me walk you through every single step — by the end, you’ll wonder how you ever made it any other way.
What Makes This Version Stand Out
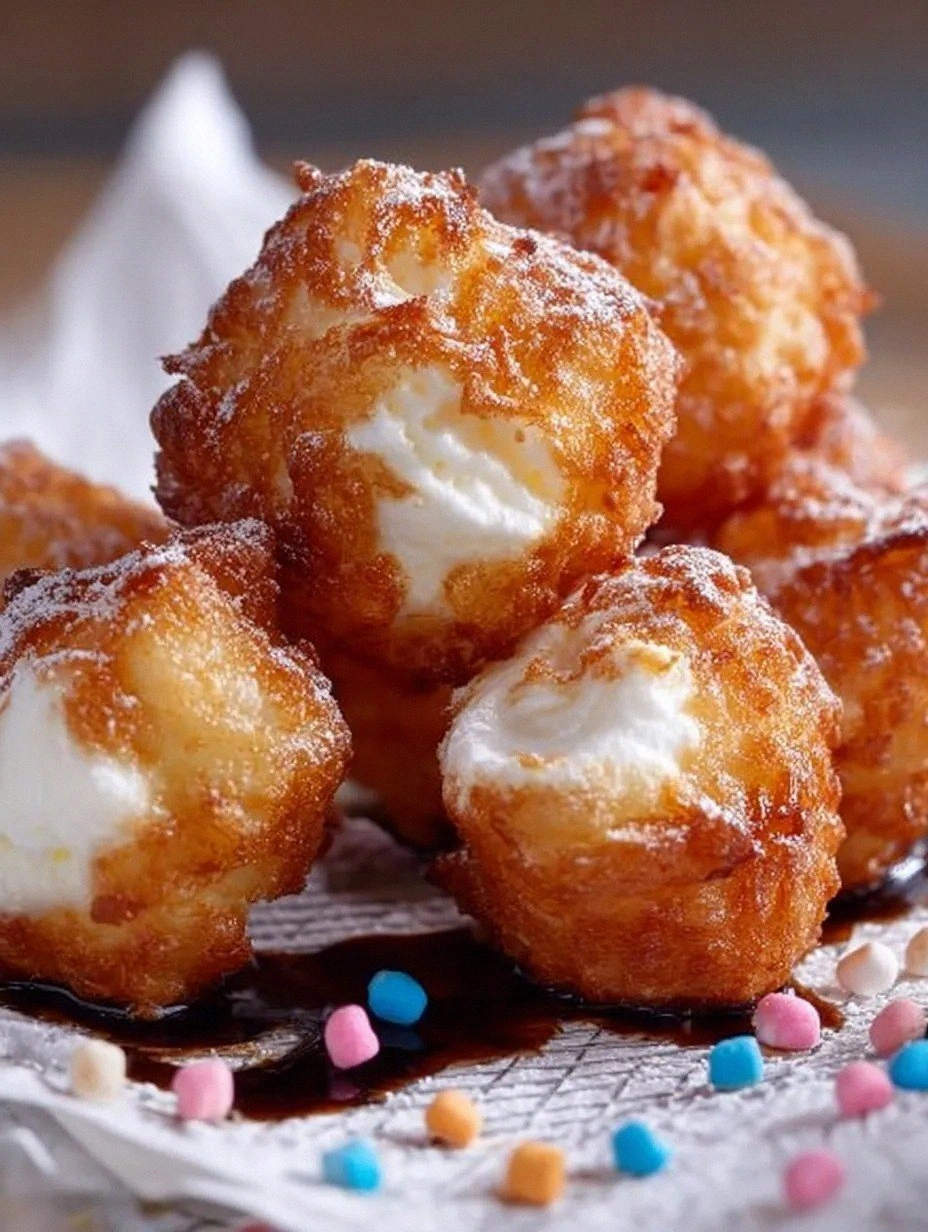
- Gooey Core: The marshmallow stays molten inside, creating a lava‑like center that oozes out with every bite, making you feel like you’ve just discovered a secret treasure chest.
- Crispy Armor: The double‑coat of batter and panko creates a crust that shatters like thin ice, delivering a satisfying crunch that contrasts perfectly with the soft interior.
- Flavor Boost: A dash of cinnamon in the breadcrumb mix adds a subtle spice that elevates the sweetness without stealing the show.
- Simplicity: Only seven pantry staples are needed, and the steps are streamlined so you won’t waste time rummaging through cabinets.
- Visual Wow Factor: The golden hue and puffed shape look spectacular on any platter, making it Instagram‑ready and party‑perfect.
- Versatility: Serve them plain, dusted with powdered sugar, or drizzle with chocolate for a decadent finish that can suit any mood.
- Make‑Ahead Friendly: You can prep the batter and breadcrumb stations ahead of time, meaning the actual frying is a quick, exciting sprint.
- Crowd Reaction: Expect gasps, cheers, and possibly a line forming at the kitchen counter—people love the surprise factor of a fried marshmallow.
Inside the Ingredient List
The Flavor Base
All‑purpose flour forms the backbone of the batter, providing structure while remaining light enough to create a delicate veil around the marshmallow. I use a full cup of flour for every two cups of liquid, which keeps the batter from becoming gummy. If you substitute cake flour, expect a softer coat but risk a slightly crumbly texture that can break apart in the oil. Choosing a high‑quality, unbleached flour ensures you get a neutral flavor that lets the marshmallow shine.
The Texture Crew
Panko breadcrumbs are the secret weapon that gives each bite that satisfying crunch. Their larger flakes trap air, resulting in a lighter crust compared to regular breadcrumbs that tend to become dense. If you’re gluten‑free, try using crushed rice crackers or gluten‑free panko; the texture will stay impressive. Adding a teaspoon of cinnamon to the breadcrumb mix introduces a warm note that pairs beautifully with the sweet marshmallow.
The Unexpected Star
Eggs act as the binding agent, ensuring the batter clings to the marshmallow without sliding off during the fry. The yolk adds richness, while the white gives structure; together they create a glossy, smooth batter that fries evenly. If you’re allergic, a mixture of 1 tablespoon of flaxseed meal plus 3 tablespoons of water can replace each egg, but the texture will be a touch less glossy.
The Final Flourish
A light dusting of powdered sugar adds a snowy finish that contrasts the golden crust, making the treat look as if it fell from a winter sky. This final touch also adds a subtle melt‑in‑your‑mouth sweetness that balances the slight spice from the cinnamon. For an extra indulgent twist, drizzle warm chocolate ganache over the top just before serving; the chocolate hardens slightly on the hot marshmallow, creating a glossy glaze.
Everything's prepped? Good. Let's get into the real action...
The Method — Step by Step
First, gather all your ingredients and set up a “breading station.” In one shallow bowl, whisk together 2 cups flour, 1 tsp baking powder, ½ tsp salt, and 2 tbsp granulated sugar. In a separate bowl, whisk 1 cup whole milk, 2 large eggs, and 1 tsp vanilla extract until the mixture is smooth and slightly frothy. This step is crucial because a well‑mixed batter will cling to the marshmallow without clumping.
That sizzle when it hits the pan? Absolute perfection.
Next, prepare the coating bowls: place 2 cups panko breadcrumbs in one bowl, and stir in 1 tsp ground cinnamon for a subtle spice kick. In another bowl, spread ½ cup powdered sugar. Having these stations ready means you won’t be scrambling while the oil heats up.
Heat vegetable oil in a deep, heavy‑bottomed pot to 350°F (175°C). If you don’t have a thermometer, drop a tiny piece of batter into the oil; it should sizzle and rise to the surface within 2 seconds. Maintaining this temperature is the secret to a crisp, non‑greasy finish.
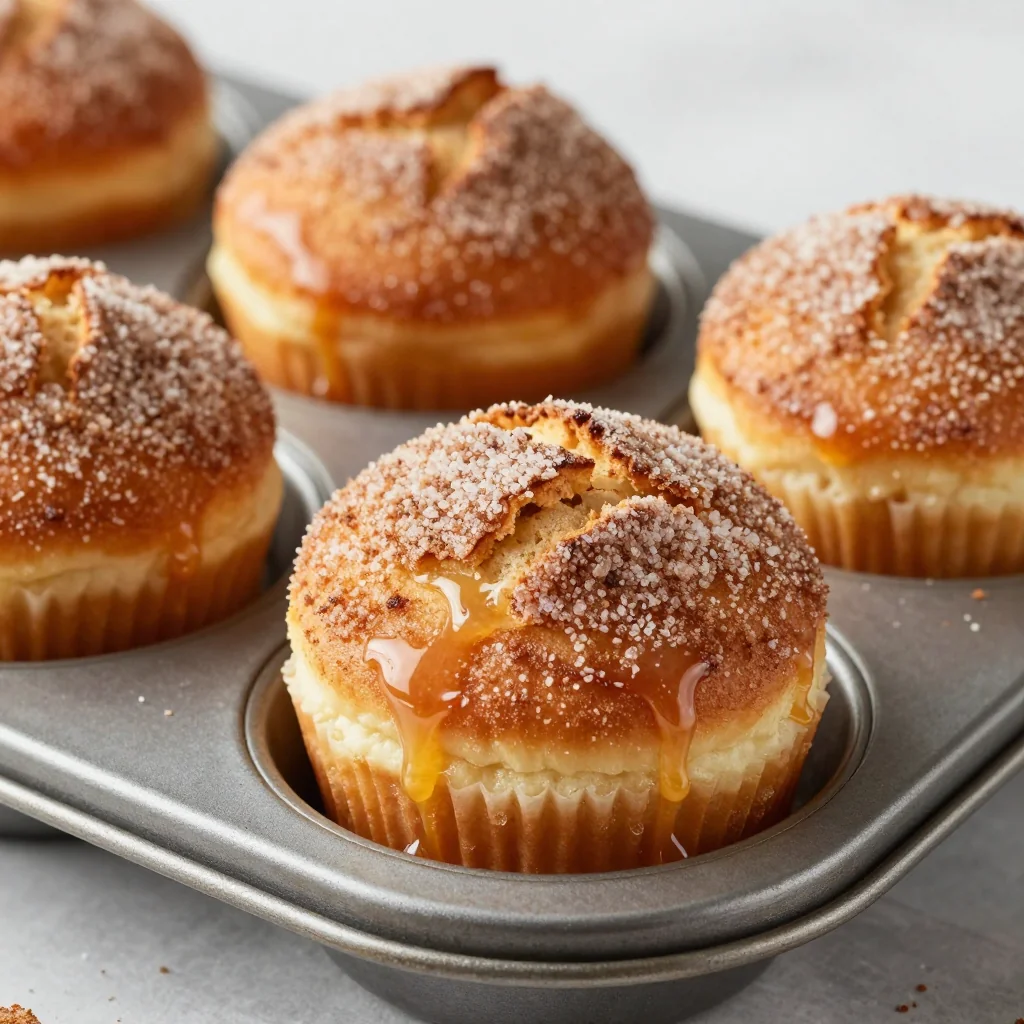
Pat the marshmallows dry with a paper towel—any moisture will cause the batter to slide off. Dip each marshmallow into the batter, letting excess drip back into the bowl, then roll it in the cinnamon‑panko mixture until fully coated. Finally, give it a quick shake in the powdered sugar bowl for a snowy finish.
Carefully lower the coated marshmallows into the hot oil, working in batches of three to avoid crowding. Fry for 2–3 minutes, turning once, until the exterior is a deep golden‑brown and the interior feels slightly puffed. The moment you see the edges start pulling away from the oil, you know they’re ready.
Using a slotted spoon, lift the fried marshmallows out and set them on a paper‑towel‑lined plate to drain excess oil. While they’re still hot, you can drizzle them with melted chocolate or sprinkle extra cinnamon sugar for an extra flavor punch.
Serve immediately while the crust is crisp and the interior is still molten. Pair them with a cold glass of milk or a scoop of vanilla ice cream for a contrast that will make your taste buds sing. I’ll be honest — I ate half the batch before anyone else got to try it, and that’s the only confession I’m willing to make.
Store any leftovers (if you can resist eating them all) in an airtight container; they’ll stay crisp for up to 24 hours, though they’re best enjoyed fresh. Reheat gently in a 300°F oven for 5 minutes to revive that golden crunch.
That's it — you did it. But hold on, I've got a few more tricks that'll take this to another level...
Insider Tricks for Flawless Results
The Temperature Rule Nobody Follows
Never let the oil temperature dip below 340°F after adding a batch; a cooler oil will soak the coating, making it soggy. Keep a small thermometer on hand and adjust the heat quickly between batches. A friend once tried to fry the whole batch at once, and the result was a greasy mess that tasted like a fried pillow—let that be a cautionary tale.
Why Your Nose Knows Best
Your sense of smell is a reliable indicator of doneness. When the batter starts to release a nutty, toasted aroma, you’re within seconds of a perfect golden crust. Trust that scent more than the timer; sometimes a few extra seconds make the difference between crisp and crunchy.
The 5‑Minute Rest That Changes Everything
After frying, let the marshmallows rest for exactly five minutes on a cooling rack before serving. This short pause lets the interior settle just enough to stay molten without spilling over, while the crust firmifies slightly, delivering that satisfying snap when you bite.
Dry‑Patting the Marshmallows
A quick pat with a paper towel removes surface moisture that would otherwise cause the batter to slide off. It’s a tiny step, but it makes a massive difference in how well the coating adheres, especially if you’re using fresh, soft marshmallows straight from the bag.
Seasonal Sweetness Swap
If you’re cooking in the fall, swap the vanilla extract for a splash of maple syrup and add a pinch of nutmeg to the breadcrumb mix. The result is a cozy, autumn‑inspired treat that still delivers that signature crunch.
Creative Twists and Variations
This recipe is a playground. Here are some of my favorite ways to switch things up:
Chocolate‑Coated Delight
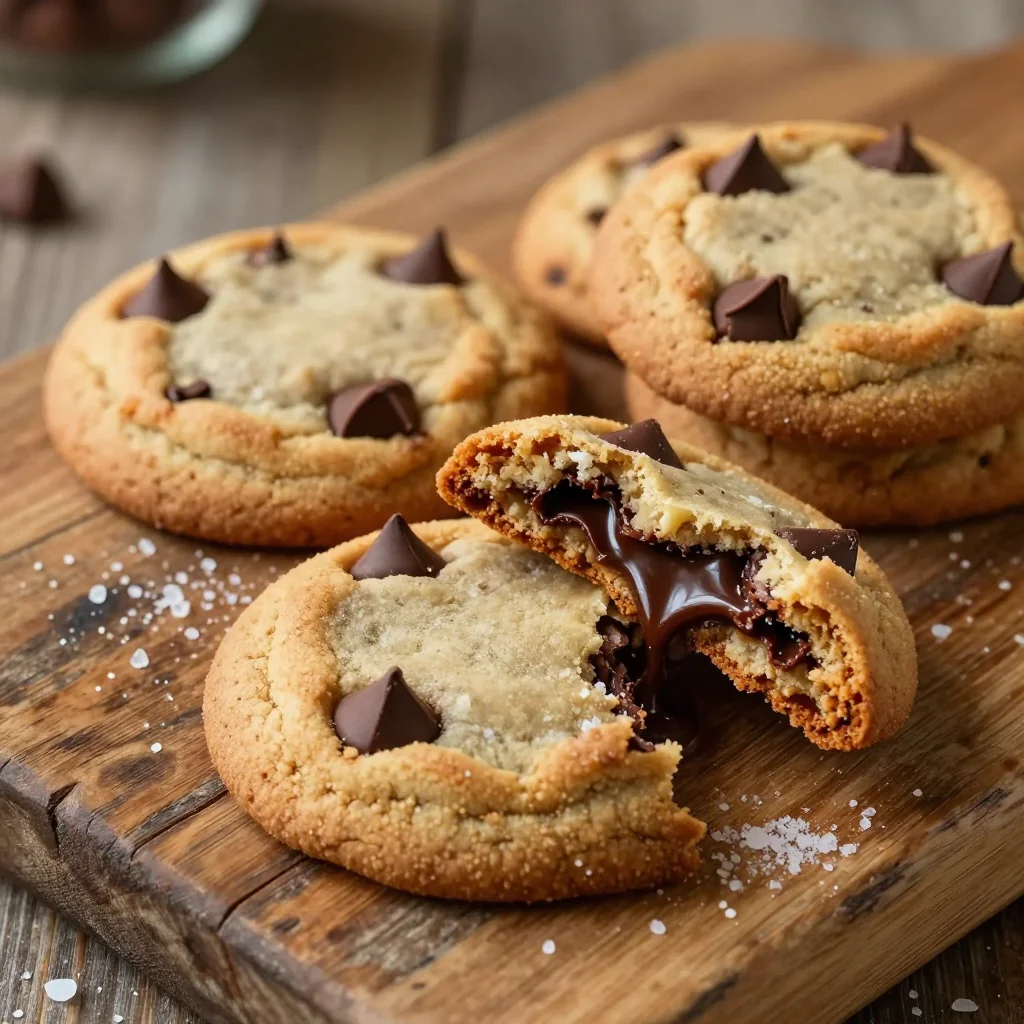
After frying, dip each marshmallow half in melted dark chocolate and sprinkle with sea salt. The bitter chocolate balances the sweet marshmallow, while the salt adds a sophisticated finish.
Coconut Crunch
Replace half of the panko with unsweetened shredded coconut. The coconut adds a tropical aroma and a slightly chewy texture that pairs wonderfully with the marshmallow’s melt.
Spicy Heat
Add a pinch of cayenne pepper to the breadcrumb mix for a subtle kick. The heat surprises the palate, turning a simple sweet treat into an adventurous snack.
Berry Burst
Insert a small dollop of raspberry jam into the center of each marshmallow before coating. The jam melts into a vibrant sauce that oozes out with each bite.
Savory Twist
Swap the powdered sugar dusting for a light dusting of grated Parmesan and a drizzle of balsamic reduction. This creates a sweet‑savory hybrid that’s perfect for a sophisticated appetizer.
Storing and Bringing It Back to Life
Fridge Storage
Place cooled marshmallows in an airtight container lined with parchment paper. They’ll stay crisp for up to 2 days, though the interior may firm up slightly. Reheat in a 300°F oven for 5 minutes to restore that melt.
Freezer Friendly
Arrange the fried marshmallows on a baking sheet and freeze for 30 minutes, then transfer to a zip‑top bag. They’ll keep for up to 3 months. When ready, bake from frozen at 350°F for 8 minutes, then add a splash of water before the final 2 minutes to steam them back to gooey perfection.
Best Reheating Method
A quick blast in a preheated oven (350°F) for 4–5 minutes revives the crunch without drying out the interior. Add a tiny splash of water to the pan and cover loosely with foil; the steam will melt the center while the crust stays crisp.