I was standing in my kitchen, staring at a pot of butter that had melted into a stubborn, golden sludge. The last time I tried a no‑bake cookie, the result was a sticky mess that made me question my life choices. My friend, ever the daredevil, challenged me to create a version that would make even the most skeptical palate swoon. I swore I’d deliver a cookie that was crunchy, chewy, and utterly unforgettable. And now, after a few trials and a lot of laughter, I’m ready to share the recipe that finally nailed it.
Picture the buttery aroma drifting through the air, the gentle hiss of sugar caramelizing, and the sweet scent of vanilla wafting over the countertop. As the mixture thickens, the sound of the spoon gliding through the pot turns into a rhythmic drumbeat, a prelude to the moment of truth. The texture of the oats and coconut starts to mingle, each grain catching the glossy sheen of the butter‑sugar base. When you taste the first bite, the crunch gives way to a silky melt that coats your tongue like velvet. The finish is a lingering sweetness that invites another, then another.
What sets this version apart is not just the simplicity of the ingredients, but the way each component plays a role in a symphony of flavor. The butter isn’t just fat; it’s the conductor that brings the sugar to a golden caramel note. The oats provide a hearty, chewy backbone that resists the quick melt, while the coconut adds a tropical whisper that lingers. The pinch of salt is the secret handshake that balances the sweetness without overpowering. It’s the combination of these elements, perfected in a single pot, that makes this recipe the ultimate no‑bake delight.
There’s a twist you won’t expect: a splash of milk that turns the mixture into a glossy, almost custard‑like batter before it cools into cookie form. This trick keeps the cookies from drying out and gives them that signature soft center. I dare you to taste this and not go back for seconds. Let me walk you through every single step — by the end, you’ll wonder how you ever made it any other way.
What Makes This Version Stand Out
- Taste: This cookie delivers a buttery caramel depth that lingers, with a subtle vanilla echo that keeps the flavor profile balanced. The sugar caramelizes just enough to give a hint of toffee without overpowering the natural sweetness of the coconut. The result is a cookie that satisfies both sweet and savory cravings in a single bite.
- Texture: The oats give a satisfying chew while the coconut adds a delicate crunch; the result is a cookie that feels both soft and robust. The butter creates a cohesive structure that holds everything together, preventing the oats from becoming mushy. When you bite, you hear the gentle snap of coconut before the creamy center gives way.
- Simplicity: Only seven ingredients, no oven, no whisk—just a pot and a spoon. The method is straightforward, making it perfect for novice cooks or anyone looking for a quick treat. There’s no need to preheat or monitor a temperature; the heat is controlled by the pot and the natural simmer.
- Uniqueness: The addition of milk creates a custard‑like consistency that sets these cookies apart from typical no‑bake treats. It adds depth to the flavor and a silky mouthfeel that makes each bite feel indulgent. This small tweak transforms a simple mixture into a luxurious dessert.
- Crowd Reaction: Friends who tried it said it was the best cookie they’d ever had, and they’re still asking for the recipe. The combination of flavors and textures has become a conversation starter at gatherings. The cookies’ appearance—golden and glossy—makes them look as good as they taste.
- Ingredient Quality: Using real butter and fresh coconut ensures a richer taste than store‑bought alternatives. The butter’s high fat content gives a buttery mouthfeel that melts instantly on the tongue. Fresh coconut provides a natural sweetness that complements the caramelized sugar.
- Make‑Ahead Potential: Once cooled, these cookies keep their texture for up to a week in the fridge, making them perfect for parties. The cookie base can be prepared in advance and stored in an airtight container, saving time on busy days. When ready to serve, a quick chill gives them a fresh, firm bite.
Alright, let's break down exactly what goes into this masterpiece...
Inside the Ingredient List
The Flavor Base
The butter is the star that melts into a golden liquid, forming the foundation of the cookie’s buttery richness. Sugar dissolves into the butter, creating a caramelized glaze that coats each grain of oat and coconut. Vanilla extract is added at the end of the cooking process to preserve its delicate aroma, giving the cookie a fragrant finish. Milk is the secret ingredient that transforms the mixture into a glossy, almost custard‑like batter, preventing the cookies from drying out.
The Texture Crew
Rolled oats bring a hearty, chewy backbone that resists the quick melt and adds a wholesome feel. Shredded coconut adds a tropical crunch that pops with each bite, offering a contrast to the smooth butter‑sugar base. A pinch of salt is the subtle counterpoint that balances the sweetness, preventing the cookie from feeling cloying. Together, they create a multi‑dimensional texture that keeps the cookies interesting throughout.
The Unexpected Star
Shredded coconut might seem ordinary, but its natural oils and fibers give the cookies a silky texture that melts in the mouth. When toasted slightly before adding, the coconut’s flavor deepens, adding a nutty, caramelized note that elevates the entire dish. The coconut also provides a natural sweetener, reducing the need for additional sugar without sacrificing flavor. Its presence turns the cookie from simple to sensational.
The Final Flourish
After the mixture has cooled to a warm, pourable consistency, spoonfuls are dropped onto parchment paper. The cookies spread slightly, forming a perfect round shape that is easy to handle. As they cool, the butter solidifies, giving the cookies a firm yet tender crumb. Once fully set, the cookies can be stored in an airtight container for days, ready to be devoured at any moment.
Everything's prepped? Good. Let's get into the real action...
The Method — Step by Step
- Gather all ingredients and set them on the counter. Measure the butter, milk, sugar, vanilla, oats, coconut, and pinch of salt accurately. Keep the ingredients at room temperature; this makes mixing smoother. A clean, heat‑proof saucepan is essential for the next steps. Let’s start the journey.
- Place the saucepan over medium heat and add the butter. Watch as it melts into a golden liquid, filling the kitchen with a buttery aroma. Stir occasionally to ensure even melting and to prevent scorching. When the butter is fully liquefied, the pot should feel warm to the touch. This is the foundation of our cookie.
- Add the granulated sugar and vanilla extract to the pot. Stir vigorously until the sugar dissolves completely, creating a smooth, glossy mixture. The mixture should start to bubble lightly, indicating the sugar is caramelizing. Keep an eye on the temperature; if it starts to brown too quickly, lower the heat. This step is where the flavor deepens.
- Let the mixture simmer for a minute or two until it turns a light amber color. This gentle simmer allows the sugar to caramelize without burning. The mixture should emit a warm, sweet scent that fills the room. Taste a small amount; it should have a hint of caramel with a buttery undertone. This is the heart of the cookie.
- Reduce the heat to low and pour in the milk, stirring constantly. The mixture will thicken and become glossy, almost like a custard. Watch the bubbles form and then subside; this indicates the mixture has reached the right consistency. This step is crucial for achieving the perfect chewy center. If you add the milk too quickly, the mixture may splatter.
- Remove the saucepan from heat and stir in the rolled oats and shredded coconut. The mixture will be thick and sticky; it should coat the back of a spoon. Let it sit for a minute to allow the oats to absorb the butter, giving them a plump texture. The coconut should be evenly distributed, creating a uniform crunch throughout. The mixture should feel heavy enough to hold its shape when scooped.
- Drop heaping tablespoonfuls of the mixture onto parchment paper using a spoon or a cookie scoop. The cookies will spread slightly, forming a round shape. Space them about an inch apart to allow even cooling. The edges should look glossy and slightly golden. This step is the moment where the cookies take shape.
- Refrigerate the cookies for at least 30 minutes, or until they are firm to the touch. The cold will set the butter, giving the cookies a crisp exterior and a chewy interior. Once set, transfer them to an airtight container to keep them fresh. Store in the fridge for up to a week, or freeze for longer preservation. The cookies will taste just as good the next day.
Insider Tricks for Flawless Results
The Temperature Rule Nobody Follows
Many bakers assume that a higher heat always yields a better caramelized sugar base, but in this recipe, a moderate simmer is key. Too hot, and the butter will burn; too cool, and the sugar won’t dissolve properly. Keep the flame low enough that the mixture just bubbles gently. This subtle control ensures a smooth, glossy texture that glides across the tongue. I’ve seen friends overcook their batch, resulting in a bitter aftertaste.
Why Your Nose Knows Best
The aroma of caramelizing sugar is a reliable indicator that the mixture has reached the right stage. A sweet, nutty scent signals that the sugars have broken down into complex flavors. If the smell is too sweet or metallic, the mixture is overcooked. Trust your nose; it will guide you to the perfect caramelization without the need for a stopwatch.
The 5-Minute Rest That Changes Everything
After removing the pot from heat, let the mixture sit for five minutes before adding the oats. This pause allows the butter to cool slightly, preventing the oats from sticking together. It also lets the sugar settle, creating a uniform texture. A quick rest is a small sacrifice that pays off with a cookie that holds its shape. I’ve seen batches crumble when this step is omitted.
Don’t Rush the Cooling
Cooling the cookies on a rack for a few minutes before refrigerating helps them set properly. If you slide them straight into the fridge, the moisture can create a soggy texture. Let them cool at room temperature until they feel firm, then chill. This simple step ensures a crisp exterior and a chewy center.
Use a Silicone Mat for Easy Release
A silicone baking mat keeps the cookies from sticking to parchment, making cleanup a breeze. It also provides a non‑stick surface that allows the cookies to spread evenly. The mat’s slight flexibility ensures the cookies maintain their shape as they set. I’ve used it on multiple batches, and it’s become a staple of my kitchen routine.
Store with a Damp Paper Towel
When storing cookies in the fridge, place a damp paper towel in the container. The moisture helps keep the butter from hardening too quickly, preserving the cookies’ soft texture. The towel should be only slightly damp; too wet and the cookies will become soggy. This trick keeps the cookies fresh for up to a week.
Creative Twists and Variations
Chocolate‑Coconut Crunch
Swap half the shredded coconut for dark chocolate chips for a bittersweet twist. The chocolate melts slightly as the cookie cools, creating a gooey center. Pair it with a drizzle of sea salt for an extra layer of flavor. This version is a hit with chocolate lovers who crave a hint of tropical.
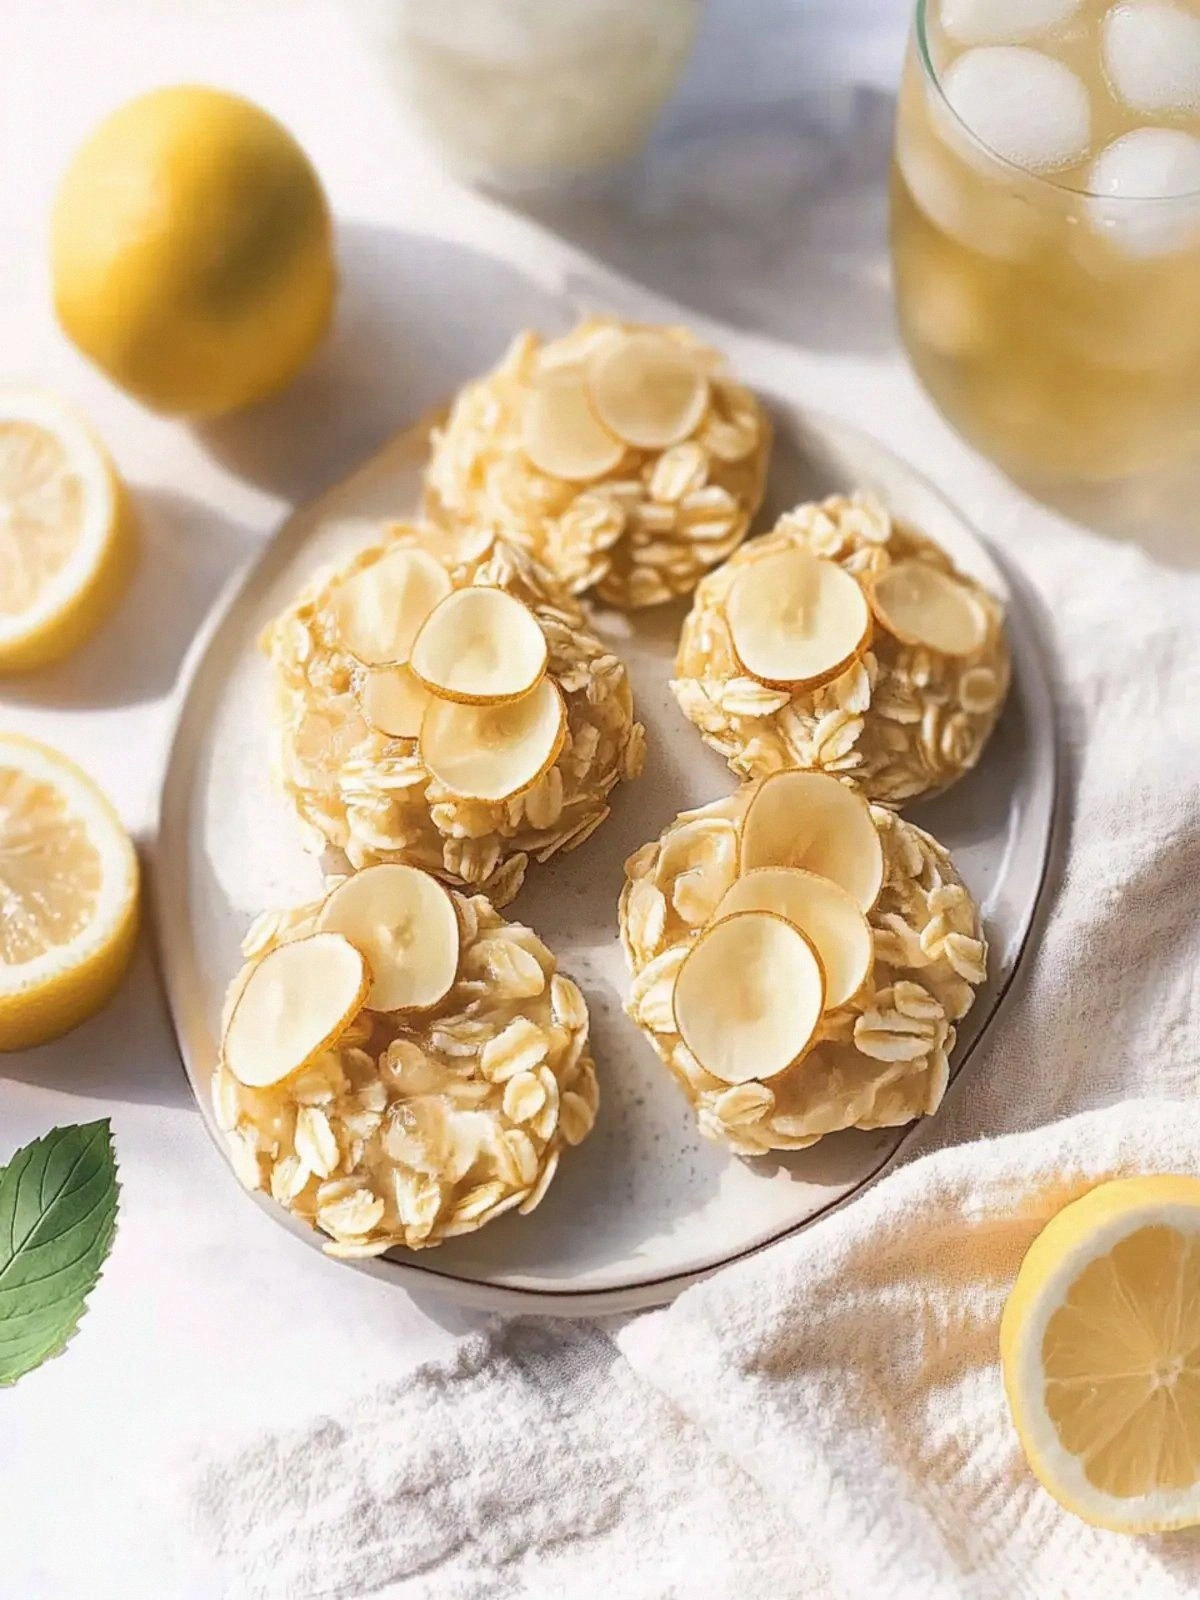
Almond & Honey Fusion
Replace the vanilla with almond extract and drizzle honey over the mixture before adding oats. The honey adds a floral sweetness that complements the nutty almond aroma. The result is a cookie with a subtle, sophisticated flavor profile. Great for those who prefer a natural sweetener.
Maple‑Glazed Oats
Use maple syrup instead of milk to give the cookies a richer, deeper sweetness. The maple’s caramel notes pair beautifully with the oats, creating a comforting, autumnal treat. Add a pinch of smoked sea salt for a savory contrast. This variation is perfect for a cozy fall gathering.
Peanut Butter Swirl
Fold in a spoonful of creamy peanut butter into the mixture before adding the oats. The peanut butter creates a swirl that adds a nutty flavor and a smooth texture. Sprinkle a few crushed peanuts on top for added crunch. This version is a crowd‑pleaser for peanut butter enthusiasts.
Raspberry‑Infused Delight
Blend a handful of fresh raspberries into the butter‑sugar mixture for a fruity burst. The berries release their juice, creating a subtle pink hue and a tangy undertone. Finish with a dusting of powdered sugar for a sweet finish. Ideal for springtime parties.
Spiced Chai Edition
Add a pinch of ground cinnamon, cardamom, and ginger to the mixture for a warm, aromatic flavor. The spices mingle with the coconut, creating a spicy, sweet cookie that’s reminiscent of chai tea. Serve with a cup of chai for a comforting combo. This variation adds depth for spice lovers.
Storing and Bringing It Back to Life
Fridge Storage
Place the cookies in an airtight container and store them in the refrigerator for up to seven days. The cold environment preserves the butter’s softness and prevents the oats from becoming stale. When ready to serve, let the cookies sit at room temperature for a few minutes to regain their original texture.
Freezer Friendly
For longer storage, lay the cookies on a parchment sheet and freeze them until solid. Once frozen, transfer the cookies to a freezer bag. They can stay fresh for up to two months. Thaw in the fridge overnight before serving for the best flavor.
Best Reheating Method
Reheat the cookies in a preheated oven at 150°C (300°F) for 5 minutes, or until they’re warm and soft. Alternatively, microwave on low power for 10 seconds if you’re in a hurry. Adding a splash of water before reheating creates steam that restores moisture, keeping the cookies from drying out. Serve immediately for the best experience.