Love this? Pin it for later! 📌
I've been perfecting this recipe for over three years, ever since my twins started kindergarten and our mornings turned into a whirlwind of lunch-packing, homework-finding, and shoe-searching. The first time I served these freshly baked scones straight from the freezer, my kids actually asked if I had secretly hired a personal baker overnight. The look on their faces when I told them these were the same scones we'd frozen two weeks prior? Priceless.
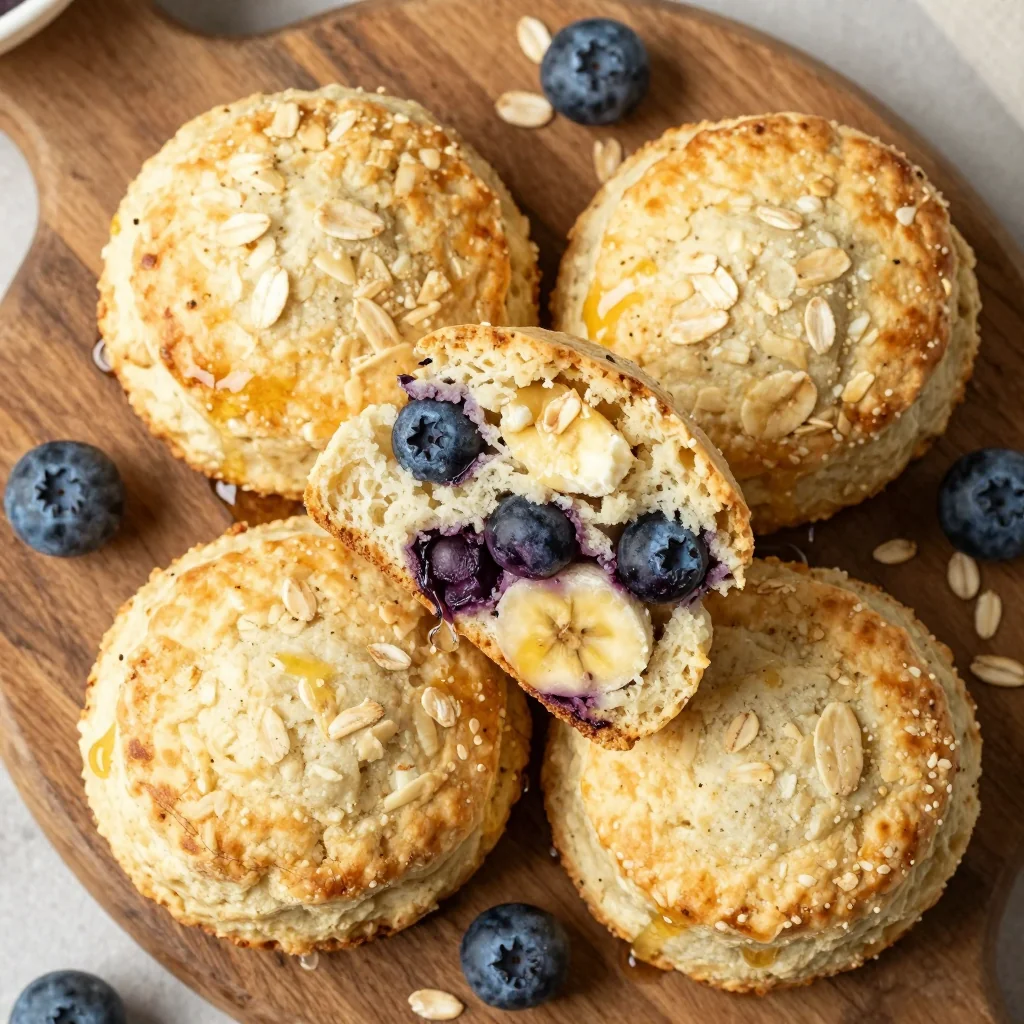
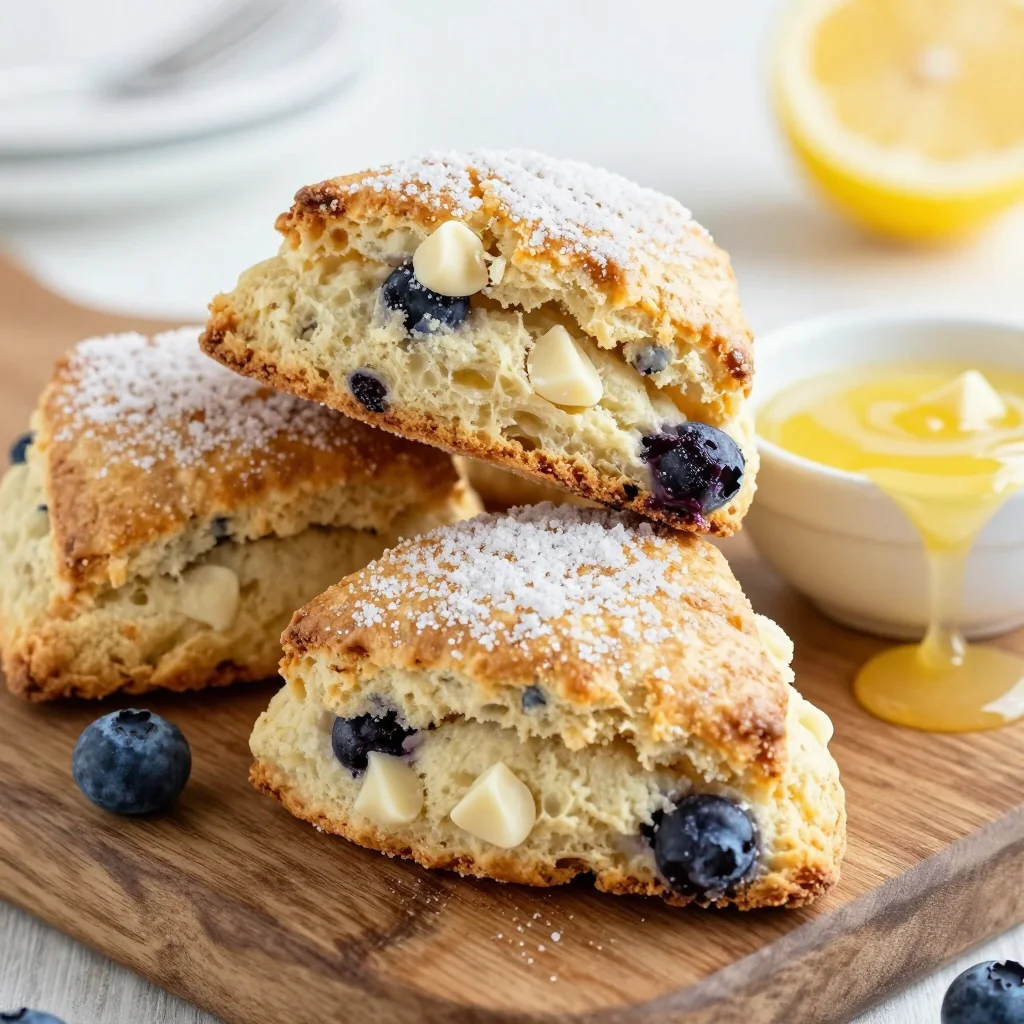
What makes this recipe special isn't just the convenience (though that's a huge plus). It's the tender, buttery interior with those signature flaky layers, the golden crust that shatters just right, and the way they transform from frozen to bakery-fresh in under 25 minutes. Whether you're meal-prepping for busy weekdays, hosting brunch guests, or simply want to treat yourself to something special without the fuss, these scones deliver every single time.
Why This Recipe Works
- Freeze Before Baking: Shaped and frozen raw, then baked fresh when needed for ultimate convenience
- Butter Layers Technique: Similar to puff pastry, creating hundreds of flaky layers without the complexity
- Customizable Base: Master the basic dough, then add your favorite mix-ins from blueberries to chocolate chips
- Room Temperature Ingredients: Cold butter and cream create steam pockets for maximum rise and tenderness
- Professional Finish: Egg wash and coarse sugar topping for that authentic bakery look and crunch
- Batch Friendly: Double or triple the recipe easily – perfect for gift-giving or holiday prep
Ingredients You'll Need
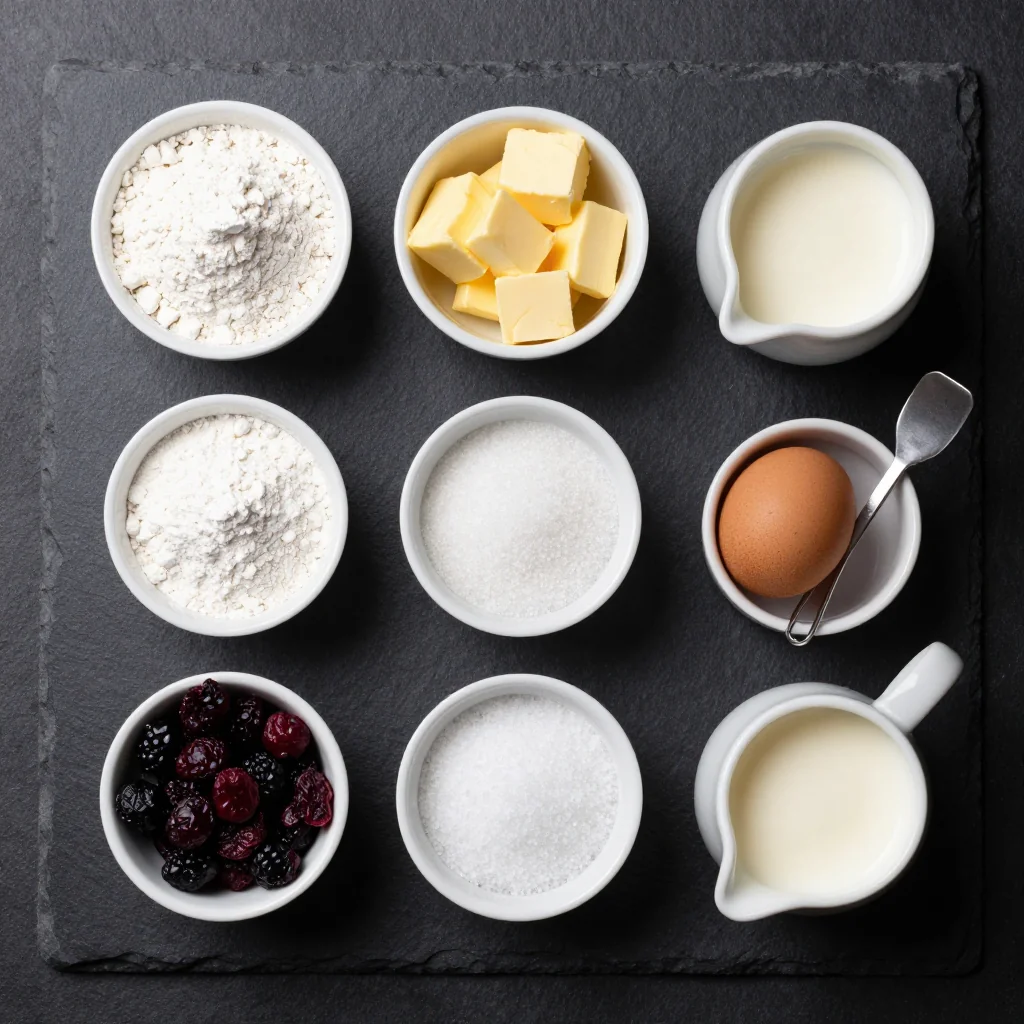
Quality ingredients make all the difference in these scones. Here's what you'll need and why each component matters:
For the Basic Dough
All-Purpose Flour (3 cups): I use King Arthur brand for consistent protein content. The protein level affects gluten development – too much and your scones become tough, too little and they fall apart. If you're at high altitude, reduce flour by 2 tablespoons.
Unsalted Butter (3/4 cup, cold): European-style butter with 82% fat content creates the flakiest layers. Cut into small cubes and freeze for 15 minutes before using. I keep butter specifically for baking in a designated container in my freezer.
Heavy Cream (3/4 cup, cold): The fat content here is crucial for tender scones. I've tested with half-and-half and whole milk – they work but lack the richness. For dairy-free versions, full-fat coconut cream works beautifully.
Large Eggs (2): One for the dough, one for the egg wash. Room temperature eggs incorporate better, but since we want everything cold, I use eggs straight from the fridge and whisk them thoroughly.
Granulated Sugar (1/3 cup): Just enough sweetness without making these dessert. For savory versions, reduce to 2 tablespoons.
Baking Powder (1 tablespoon): Freshness matters! Test by adding a teaspoon to hot water – it should bubble vigorously. Replace every 6-12 months.
Salt (1 teaspoon): Enhances all the flavors. I use fine sea salt for even distribution.
Flavor Enhancers & Toppings
Pure Vanilla Extract (1 teaspoon): Nielsen-Massey is my go-to for its complex flavor profile. For citrus variations, substitute with lemon or orange extract.
Coarse Sugar (for topping): Turbinado sugar creates that professional bakery crunch. Regular granulated sugar works in a pinch, but the larger crystals provide better texture.
Cinnamon-Sugar Mix: Combine 2 tablespoons coarse sugar with 1/2 teaspoon cinnamon for a delightful variation.
How to Make Freezer-Friendly Breakfast Scones for Morning Treats
Prepare Your Workspace and Chill Ingredients
Clear a large workspace and line two baking sheets with parchment paper. Measure all ingredients before starting – this mise en place approach prevents overworking the dough. Place your mixing bowl in the freezer for 10 minutes to ensure everything stays cold. This step is crucial for flaky layers, as warm butter will absorb into the flour rather than creating steam pockets.
Combine Dry Ingredients
In your chilled large bowl, whisk together flour, sugar, baking powder, and salt until well combined. Create a well in the center. This well technique helps incorporate wet ingredients evenly without overmixing. For herb variations, add 1 tablespoon dried lavender or rosemary at this stage.
Cut in the Butter
Add cold butter cubes to flour mixture. Using a pastry cutter or your fingertips, work butter into flour until mixture resembles coarse crumbs with some pea-sized pieces remaining. These larger butter pieces create steam pockets during baking, resulting in flaky layers. Work quickly to prevent butter from melting. If your kitchen is warm, refrigerate the mixture for 10 minutes.
Add Wet Ingredients
In a small bowl, whisk together heavy cream, egg, and vanilla. Pour into flour mixture and gently fold with a rubber spatula until just combined. The dough will be shaggy and slightly sticky – resist the urge to add more flour. Overmixing develops gluten, resulting in tough scones. If adding mix-ins like blueberries or chocolate chips, fold them in gently at this stage.
Shape the Dough
Turn dough onto a lightly floured surface. Pat into a 1-inch thick circle, about 8 inches in diameter. Using a sharp knife or bench scraper, cut into 8 wedges. For mini scones, divide dough into two 6-inch circles and cut each into 6 wedges. Work quickly to keep dough cold.
Flash Freeze Individual Scones
Place shaped scones on parchment-lined baking sheets, ensuring they don't touch. This prevents them from freezing together. Freeze uncovered for 2-3 hours until solid. This step is crucial – if you skip it and freeze them in bags immediately, they'll stick together and lose their shape.
Package for Long-term Storage
Once frozen solid, transfer scones to freezer bags or airtight containers. Label with date and flavor. Remove as much air as possible to prevent freezer burn. Store for up to 3 months. I like to wrap each scone individually in plastic wrap before placing in bags – this extra step prevents ice crystals from forming.
Bake From Frozen
When ready to bake, preheat oven to 400°F (204°C). Place frozen scones on parchment-lined baking sheet, spacing 2 inches apart. Brush with egg wash (1 egg beaten with 1 tablespoon water) and sprinkle with coarse sugar. Bake 22-25 minutes until golden brown. No need to thaw – they bake perfectly from frozen!
Expert Tips
Keep Everything Cold
Warm ingredients equal tough scones. If your kitchen is above 72°F, chill your flour in the freezer for 15 minutes before starting. I keep a bag of flour specifically for baking in my freezer.
Don't Overwork Dough
Mix just until ingredients come together. Those shaggy, floury bits will hydrate during resting and create tender layers. Overmixing develops gluten, resulting in bread-like texture.
Make-Ahead Magic
Double the recipe and freeze half shaped but unbaked. These keep for 3 months frozen. You can also bake all scones, cool completely, then freeze – reheat at 350°F for 8-10 minutes.
Egg Wash Perfection
For extra shine, strain the egg wash through a fine-mesh sieve. This removes any lumps that might create uneven browning. Brush just before baking for best results.
Timing Flexibility
If you're not ready to bake, shaped scones can stay frozen for up to 3 months. Once baked, they stay fresh in an airtight container for 3 days or freeze for up to 1 month.
Altitude Adjustments
At elevations above 3,000 feet, reduce baking powder by 25% and add 1-2 tablespoons cream. The lower air pressure affects rising and moisture evaporation rates.
Variations to Try
Cranberry Orange
Fold in 3/4 cup dried cranberries and 2 tablespoons orange zest. Replace vanilla with orange extract. Top with orange glaze (powdered sugar + orange juice).
Savory Cheddar & Chive
Reduce sugar to 2 tablespoons, fold in 1 cup sharp cheddar and 2 tablespoons fresh chives. Perfect with soup or as dinner rolls.
Triple Chocolate
Fold in 1/2 cup mini chocolate chips and 1/4 cup cocoa powder. Drizzle baked scones with melted chocolate and white chocolate.
Apple Cinnamon
Fold in 1/2 cup finely diced apple (pat dry) and 1 teaspoon cinnamon. Add 1/4 teaspoon nutmeg for extra warmth.
Storage Tips
Before Baking
Shaped, unbaked scones freeze beautifully for up to 3 months. Flash freeze individually, then store in freezer bags with as much air removed as possible. Label with the date and flavor. You can bake them straight from frozen – just add 3-5 extra minutes to the baking time.
After Baking
Baked scones stay fresh in an airtight container at room temperature for 2 days. For longer storage, refrigerate for up to 5 days or freeze for up to 1 month. To refresh day-old scones, warm them in a 300°F oven for 5-7 minutes. Never microwave – it makes them rubbery.
Make-Ahead Magic
For ultimate convenience, prepare a double batch during weekend prep. Freeze half shaped but unbaked, and bake the other half immediately. You'll have fresh scones for the week plus an emergency stash for unexpected guests or busy mornings.
Frequently Asked Questions
Freezer-Friendly Breakfast Scones for Morning Treats
Ingredients
Instructions
- Prepare: Line baking sheets with parchment. In a large bowl, whisk flour, sugar, baking powder, and salt.
- Cut in butter: Add cold butter cubes and work into flour until pea-sized pieces remain.
- Add wet ingredients: Whisk cream, 1 egg, and vanilla. Pour into flour mixture and fold just combined.
- Shape: Pat dough into 8-inch circle, 1-inch thick. Cut into 8 wedges.
- Flash freeze: Place wedges on baking sheet, freeze 2-3 hours until solid.
- Store: Transfer frozen scones to freezer bags, store up to 3 months.
- Bake: Preheat oven to 400°F. Place frozen scones on baking sheet, brush with beaten egg, sprinkle with coarse sugar. Bake 22-25 minutes until golden.
Recipe Notes
Scones bake perfectly from frozen – no need to thaw! For mini scones, divide dough into two 6-inch circles and cut each into 6 wedges. Reduce baking time to 15-18 minutes.