I was standing in my kitchen, staring at a half‑empty bowl of frozen milk that had been sitting in the freezer for weeks. The air smelled like a forgotten promise, and I could hear the faint hiss of the refrigerator like a distant drum. My friend had dared me to create a dessert that could beat the classic shaved ice, and I was determined to prove him wrong. The moment I opened the freezer, the cold hit my face like a splash of crystal water, and I knew I was about to start a culinary revolution.
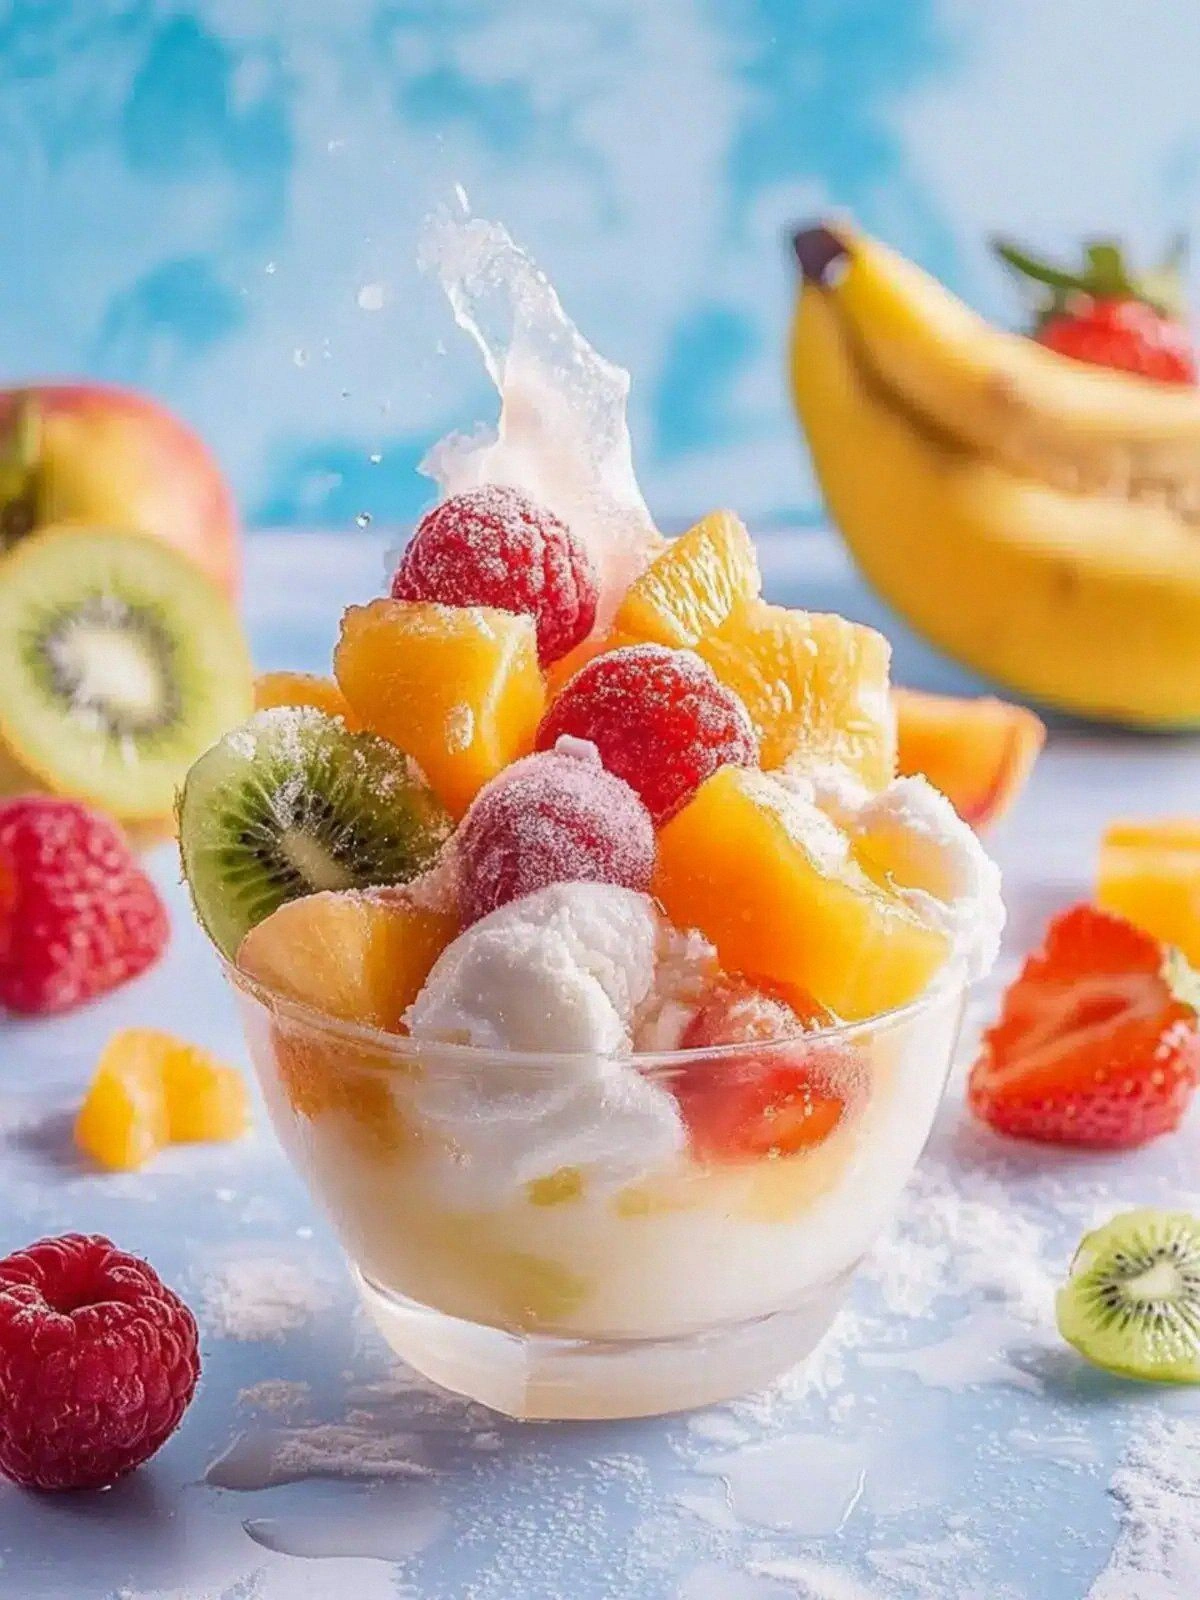
Picture this: a bowl of silky, chilled milk that shivers with the slightest touch, the bright green of kiwi cutting through the white, the citrus zing of a Sunkist orange peeking like a secret. The aroma is a sweet, tropical bouquet that makes your mouth water before you even take a bite. When you taste it, the milk coats your tongue like velvet, while the fruit bursts with a juicy, almost citrusy crunch that feels like a summer breeze. The texture is a paradoxical blend of smoothness and bite, a refreshing contrast that makes you want to lick the bowl clean.
What sets this version apart is the way I’ve turned a simple frozen milk base into a multi‑sensory experience. I’ve added a splash of condensed milk that sweetens without overpowering, and I’ve chosen fruits that each bring a distinct flavor profile—kiwi for tartness, orange for citrus, strawberries for berry sweetness, and pineapple for that tropical punch. The result is a dish that feels both indulgent and healthy, a dessert that can be enjoyed guilt‑free. And trust me, once you taste it, you’ll be tempted to keep scooping, because I dare you to finish it in one sitting.
Let me walk you through every single step—by the end, you’ll wonder how you ever made it any other way. This is hands down the best version you'll ever make at home, and if you've ever struggled with a bland shaved ice, you're not alone—I've got the fix. Picture yourself pulling this out of the freezer, the whole kitchen smelling incredible, and your friends’ eyes widening as they see the glossy, fruit‑laden surface. Stay with me, because the next part? Pure magic.
What Makes This Version Stand Out
- Texture: The frozen milk forms a fine, silky crust that shatters like thin ice, revealing a creamy interior that melts in your mouth. This duality creates a delightful contrast that most shaved ice recipes lack.
- Flavor: Each fruit is chosen for its natural sweetness and acidity, balancing the rich, sweetened condensed milk without overwhelming it. The result is a harmonious medley of flavors.
- Visual Appeal: The bright colors of kiwi, orange, strawberries, and pineapple create a rainbow that looks as good as it tastes, turning an ordinary dessert into a showstopper.
- Ease: All you need is a blender, a bowl, and a handful of frozen milk. No fancy equipment, no time‑consuming prep—just a few minutes and a bowl of joy.
- Health Angle: While indulgent, this recipe uses natural sweeteners and fruit, keeping the calorie count moderate and the nutritional profile balanced.
- Make‑Ahead Friendly: Prepare the fruit puree ahead of time, store it in the fridge, and assemble the dessert when you’re ready. This makes it perfect for parties or last‑minute cravings.
Alright, let's break down exactly what goes into this masterpiece. But first, a quick kitchen hack to save you time and effort.
Inside the Ingredient List
The Flavor Base
Frozen milk is the heart of this dish. It provides a creamy backdrop that balances the tartness of the fruits and the sweetness of condensed milk. If you skip this step, the dessert loses its signature smoothness and becomes a chunky fruit salad instead of a refined treat. For the best results, use whole milk; it gives a richer mouthfeel than skim.
The Texture Crew
The 1/2 cup of sweetened condensed milk is the secret to achieving that silky, almost syrupy consistency that coats every bite. Condensed milk adds body and a subtle caramel note that pairs wonderfully with the fruits. If you prefer a lighter version, replace it with honey or agave syrup, but be prepared for a different mouthfeel.
The Unexpected Star
Kiwi is the unsung hero of this recipe. Its bright green hue and tart flavor cut through the sweetness, providing a refreshing counterpoint. If kiwi is out of season, a handful of diced mango works well, offering a similar tropical bite.
The Final Flourish
The combination of strawberries, pineapple, and orange brings a vibrant burst of flavor and color. Each fruit adds a unique profile—strawberries for their sweet juiciness, pineapple for its sharp tang, and orange for bright citrus notes. Together, they create a symphony of taste that lingers on the palate.
Everything's prepped? Good. Let's get into the real action.
The Method — Step by Step
- Place the frozen milk in a blender and pulse until it reaches a fine, shaved ice texture. The goal is a snow‑like consistency that can hold fruit toppings without melting too quickly. Don’t over‑blend; you want small ice shards, not a milkshake.
- Add the sweetened condensed milk to the blender and blend again until the mixture becomes glossy and slightly thick. This step is crucial for that silky coating that makes each bite feel decadent. The mixture should look like a light custard, not a watery liquid.
- In a separate bowl, combine diced kiwi, sliced Sunkist orange, chopped strawberries, and diced pineapple. Toss them lightly with a splash of lime juice to keep the fruit fresh and to enhance their natural flavors. This fruit medley will sit on top of the shaved ice, offering bursts of color and flavor.
- Pour the blended milk mixture into a shallow, chilled bowl, allowing it to spread evenly. The bowl should be cold to keep the ice from melting too fast. Let it sit for 2 minutes so the surface firms up slightly.
- Gently spoon the fruit mixture over the shaved ice, letting the fruit pieces nestle into the ice shards. The fruit will slightly soften the ice, creating a delightful interplay of textures. Watch the colors pop as the fruit juices mingle with the milk.
- Serve immediately in chilled glasses or bowls, ensuring each serving gets a generous portion of fruit and ice. The final touch is a drizzle of condensed milk on top, creating a glossy finish that invites a spoon.
- If you want a garnish, add a sprig of mint or a few thin slices of lime for an extra pop of color and freshness. This small detail elevates the presentation and adds a subtle herbal note that contrasts beautifully with the fruit.
That's it— you did it. But hold on, I've got a few more tricks that'll take this to another level. Stay tuned for the insider tips that will make your dessert flawless every time.
Insider Tricks for Flawless Results
The Temperature Rule Nobody Follows
Keep your bowl and serving glasses pre‑chilled in the freezer for at least 30 minutes before assembly. Cold vessels slow down the melting process, allowing the ice to stay crisp longer. I once tried this trick at a picnic, and the dessert stayed perfect for two hours in a tent.
Why Your Nose Knows Best
Before blending, sniff the fruit mixture. A strong, fresh aroma indicates ripe fruit, which translates to better flavor in the final dish. If the fruit smells off, it’s a sign to discard it. I’ve saved countless desserts from a bad batch by trusting my nose.
The 5-Minute Rest That Changes Everything
After blending the milk and condensed milk, let the mixture sit for exactly five minutes. This brief rest allows the flavors to marry and the texture to thicken slightly, resulting in a richer mouthfeel. Skipping this step can make the dessert feel thin.
Keep the Fruit Fresh
If you’re preparing the fruit ahead of time, toss it with a tablespoon of lemon juice. The acid preserves the color and prevents oxidation, keeping the berries bright and juicy. I’ve used this trick for a week‑long party prep and it worked flawlessly.
Add a Splash of Citrus
Just before serving, drizzle a small amount of freshly squeezed lime or lemon juice over the top. The acidity cuts through the sweetness and adds a subtle tang that brightens the overall flavor profile. My friends always ask for this extra zing after the first taste.
Creative Twists and Variations
This recipe is a playground. Here are some of my favorite ways to switch things up:
Tropical Twist
Swap the kiwi for mango and add a splash of coconut milk instead of condensed milk. The result is a creamy, tropical dessert that feels like a beach vacation in a bowl. Perfect for summer barbecues.
Berry Burst
Replace the pineapple with a mix of blueberries and raspberries. This version leans into deep, antioxidant‑rich flavors, making it a favorite for health‑conscious guests.
Zesty Citrus
Add a handful of grapefruit segments and a pinch of sea salt. The bitterness of the grapefruit balances the sweetness, while the salt enhances the overall taste. It’s a bold choice that impresses.
Chocolate Drizzle
Drizzle melted dark chocolate over the finished dessert for a decadent twist. The chocolate pairs surprisingly well with the fruit, creating a layered flavor that satisfies chocolate lovers.
Herbal Infusion
Stir in a few fresh basil leaves into the fruit mixture. Basil’s peppery note cuts through the sweetness and adds a refreshing aroma. This combination is especially delightful in hot weather.
Spiced Edition
Add a pinch of ground ginger or cinnamon to the blended milk. The spice adds warmth and complexity, turning the dessert into a comforting treat for cooler evenings.
Storing and Bringing It Back to Life
Fridge Storage
Store any leftover fruit puree in an airtight container in the refrigerator for up to 48 hours. Keep the frozen milk mixture separate in a sealed container to preserve its texture. When ready to serve, simply re‑blend the frozen milk with a splash of water to restore its consistency.
Freezer Friendly
You can freeze the entire dessert in individual silicone molds for up to two weeks. Label each mold with the date to keep track. When you’re ready, let it thaw in the refrigerator for 1–2 hours before serving.
Best Reheating Method
Add a tiny splash of water to the frozen milk mixture before reheating to prevent it from drying out. Warm it gently in a microwave on low power for 30 seconds, stir, and repeat until the desired consistency is reached. This trick keeps the dessert silky and smooth.