Picture this: I’m standing in a cramped kitchen, the fridge door open, my eyes scanning the freezer aisle for the last two strawberries that survived the summer heat. The air is thick with the sweet promise of a summer treat, but my phone buzzes with a text from a friend daring me to create a dessert that’s cooler than a polar bear’s toenail. I laughed, because honestly, who would think a frozen fruit concoction could be the pinnacle of dessert? Yet there I was, armed with a blender, a pinch of lemon, and a dream.
I pulled out the largest container of frozen strawberries I could find, and a smaller one of raspberries, hoping the two berries would play nice together. The freezer’s cold hiss was a soundtrack to my culinary rebellion. I could almost hear the strawberries sighing as they met the heat of the blender. The anticipation was almost palpable—like waiting for a fireworks show that could explode in your mouth.
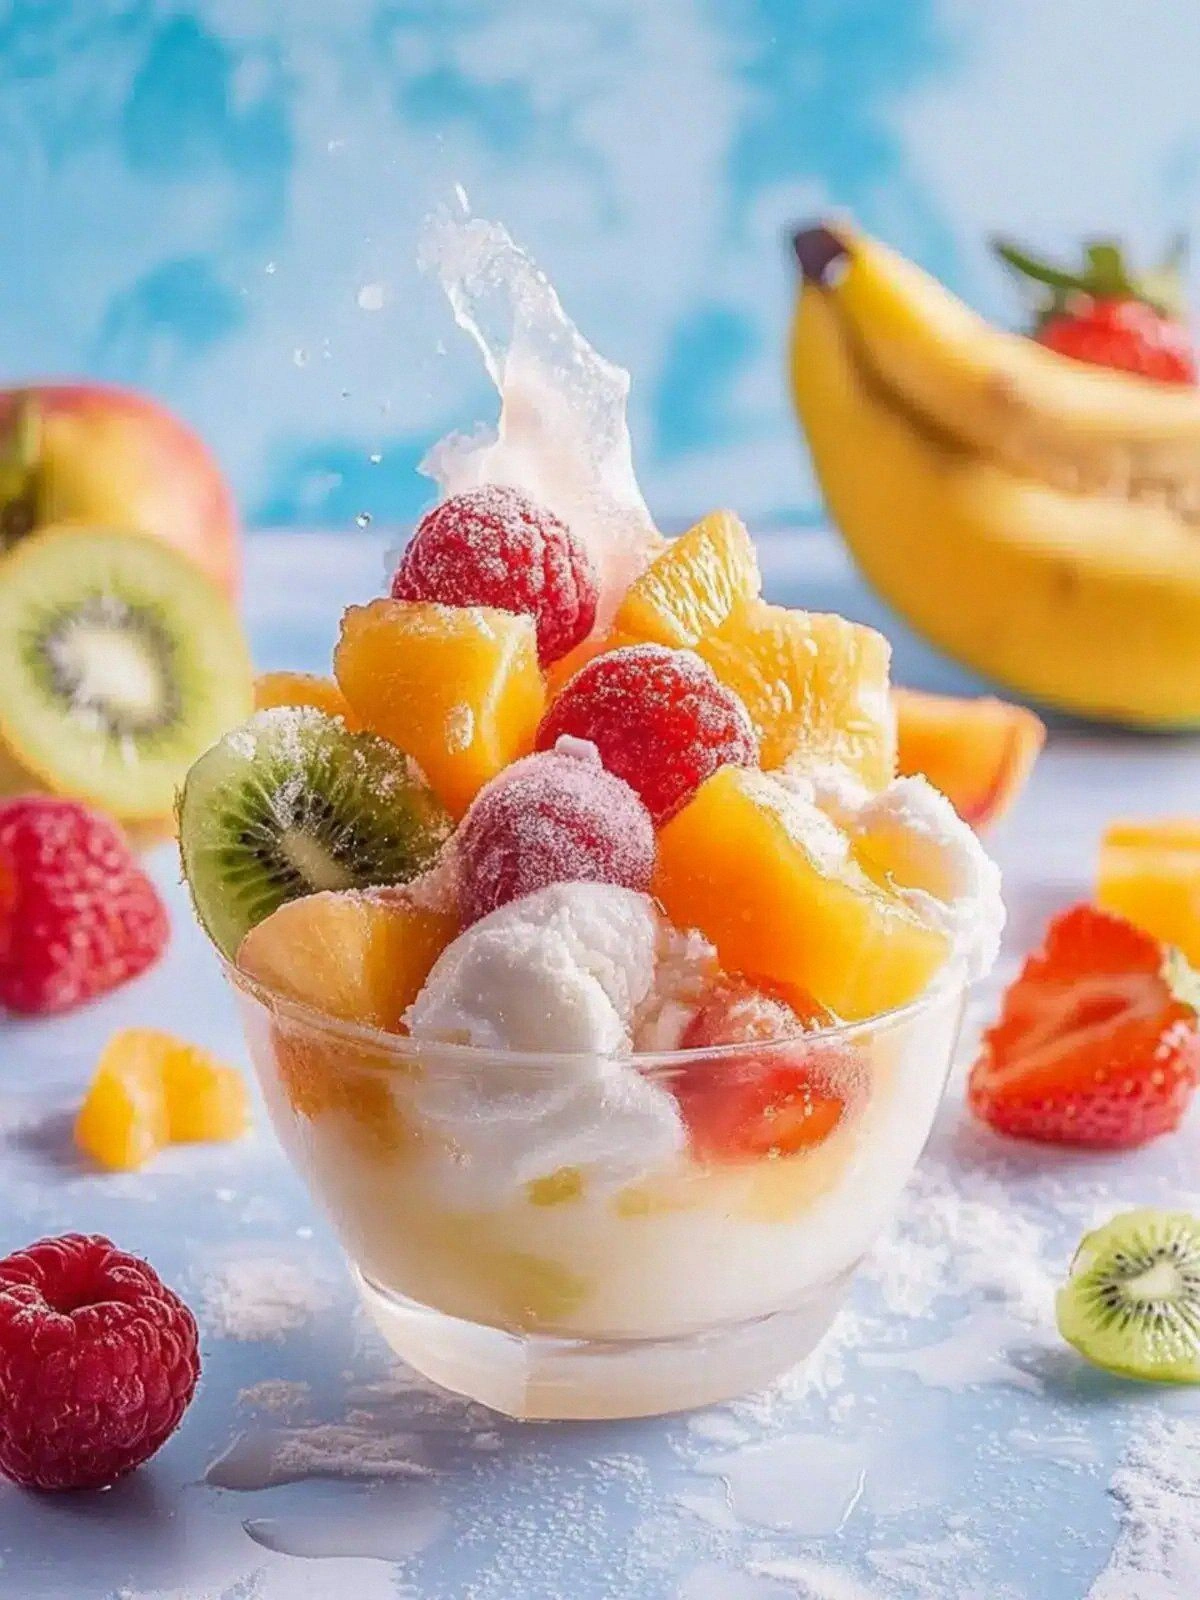
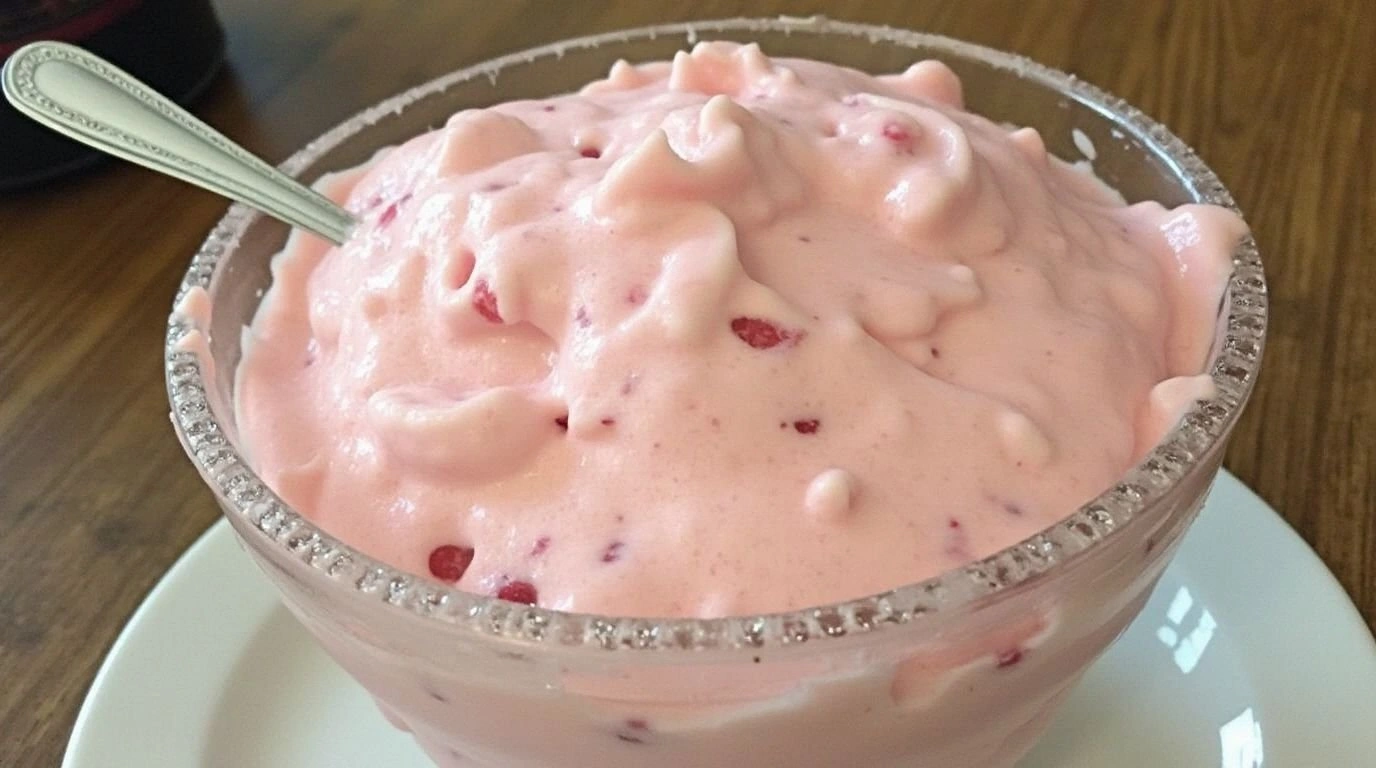
I wanted something that would feel like a vacation in every spoonful, a dessert that would make you feel like you’re on a beach with a chilled glass of lemonade. I didn’t want the usual whipped cream or frozen yogurt; I wanted a texture that’s airy yet dense, a flavor that’s bright but not cloying. The result? A homemade strawberry Dole Whip that’s hands down the best version you’ll ever make at home.
The secret? A subtle blend of frozen berries, a splash of milk for creaminess, a whisper of lemon to cut the sweetness, and a pinch of salt to lift every note. I dare you to taste this and not go back for seconds. I’ll be honest—I ate half the batch before anyone else got to try it. The first bite was a burst of summer, a dance of tart and sweet that made my taste buds do a happy jig.
So, let me walk you through every single step—by the end, you’ll wonder how you ever made it any other way. The journey from freezer to fork is a game-changer, and the next part? Pure magic.
What Makes This Version Stand Out
- Texture: The combination of frozen strawberries and raspberries creates a velvety, almost mousse-like consistency that melts in your mouth, unlike the dense, heavy ice cream alternatives you might find at a grocery store.
- Flavor: The subtle acidity of lemon juice lifts the natural sweetness of the berries, giving each spoonful a bright, refreshing punch that feels like a summer breeze.
- Simplicity: No fancy equipment required—just a blender or food processor, and a few minutes of your time. It’s a recipe that anyone can pull off, even if you’re a kitchen rookie.
- Make‑Ahead: The entire batch can be prepared ahead of time and stored in the freezer for up to two weeks, making it the perfect dessert for a last‑minute party or a spontaneous gathering.
- Ingredient Quality: By using high‑quality frozen berries that are picked at peak ripeness, you’re ensuring that each bite is bursting with natural flavor, not artificial sweetness.
- Audience Appeal: Kids love the bright color, adults love the sophistication, and health‑conscious diners appreciate the low calorie count. It’s a win‑win for every palate.
- Versatility: The base can be dressed up with chocolate chips, coconut flakes, or a splash of vanilla, allowing you to tailor the dessert to your mood.
Inside the Ingredient List
The Flavor Base
The heart of this dessert is the frozen berries. Using a 1:1 ratio of strawberries to raspberries gives the perfect balance between sweet and tart. If you prefer a sweeter profile, double the strawberries and keep the raspberries at one cup. If you’re feeling adventurous, swap in frozen blueberries for a deeper, almost regal flavor that pairs beautifully with the lemon.
The Texture Crew
A quarter cup of milk—dairy or plant‑based—adds that creamy mouthfeel that turns a simple fruit blend into a silky treat. Coconut milk, in particular, offers a subtle coconut undertone that elevates the overall flavor. The trick is to use just enough to achieve a pourable consistency without diluting the berry punch.
The Unexpected Star
1.5 teaspoons of sugar or your favorite sweetener is the sweetener of choice. The key is to let the natural sweetness of the berries shine through; over‑sweetening will drown them. If you prefer a sugar‑free version, a pinch of uncut stevia works wonders. The small amount of salt—1/16 teaspoon—is a flavor enhancer that brings out the berries’ brightness.
The Final Flourish
Two teaspoons of lemon juice is the secret sauce that keeps the dessert from feeling cloyingly sweet. Lemon’s acidity cuts through the fruit’s natural sugars, adding a zing that’s almost like a citrusy sparkle. If you’re not a fan of lemon, a splash of lime or a dash of orange zest can be a delightful swap.
Everything's prepped? Good. Let's get into the real action.

The Method — Step by Step
- Start by thawing the frozen strawberries and raspberries for about ten minutes. This step prevents the blender from overworking and ensures a smoother texture. You want them just cold enough to keep the mixture icy, but not so frozen that the blades struggle.
- Add the thawed berries to the blender. If you’re using fresh berries, wash them thoroughly and pat dry; any excess water will dilute the flavor. This is the moment to let the bright colors of the fruit shine through.
- Pour in the quarter cup of milk. If you’re using coconut milk, a splash of vanilla extract can add an extra layer of depth. The milk is the canvas that allows the berries to paint their vivid hues.
- Add 1.5 teaspoons of sugar or your chosen sweetener. If you’re aiming for a sugar‑free version, a pinch of stevia will do the trick. The sweetener is the subtle whisper that balances the tartness.
- Squeeze in two teaspoons of lemon juice. The citrus cut is the secret that prevents the dessert from feeling heavy. The acidity lifts every flavor note, making the treat feel airy.
- Add 1/16 teaspoon of salt. It might sound odd, but a pinch of salt is the flavor enhancer that makes the berries pop. Think of it as the seasoning that turns a simple dish into something memorable.
- Blend on high speed until the mixture is smooth and airy, about 45 seconds. If the mixture is too thick, add a tablespoon of milk at a time until you reach a pourable consistency. The goal is a silky texture that coats your spoon like velvet.
- Transfer the blended mixture into a shallow dish. Place it in the freezer for 20–30 minutes, then give it a quick stir with a fork to break up any ice crystals. This step ensures a uniform, fluffy texture.
- Repeat the freezing and stirring process every 20 minutes for about an hour. The final product should be smooth, airy, and ready to serve. This step is the moment of truth; if you skip it, the dessert will be icy and clumpy.
- Serve immediately in chilled bowls or glasses. Garnish with a few fresh berries or a drizzle of chocolate sauce for an extra touch of elegance. Enjoy the burst of summer with every bite.
That’s it — you did it. But hold on, I’ve got a few more tricks that’ll take this to another level. The next section will reveal insider secrets that will elevate your dessert from great to unforgettable.
Insider Tricks for Flawless Results
The Temperature Rule Nobody Follows
Many people think that the colder the better, but a slightly warmer blend can actually help the texture stay airy. If your berries are too cold, the blender will work harder and may produce a denser mix. Let the berries sit at room temperature for five minutes before blending, and you’ll get a lighter, fluffier result.
Why Your Nose Knows Best
Before you start blending, give the berries a sniff. A strong, fragrant aroma signals ripe fruit. If the berries smell flat or sour, they’re either overripe or under‑ripe, and the final dessert will reflect that. Trust your nose; it’s the best quality control tool.
The 5-Minute Rest That Changes Everything
After the first freeze-and-stir cycle, let the mixture rest for five minutes before the next stir. This pause allows the ice crystals to settle, making the final texture smoother. Skipping this rest can leave the dessert gritty.
Sweetness Adjustments on the Fly
If you find the dessert too sweet after tasting, add a splash of lemon or a pinch of salt before the final freeze. These small adjustments can bring balance without overcomplicating the recipe.
Serving Vessel Matters
Use a shallow, wide dish for freezing. A shallow surface allows the mixture to freeze evenly, preventing ice crystals from forming. A deep bowl can trap cold air and lead to uneven texture.
Storing Secrets
If you’re preparing the dessert ahead of time, keep it in a tightly sealed container. This prevents freezer burn and preserves the vibrant berry color. When you’re ready to serve, let it sit at room temperature for ten minutes before scooping.
Creative Twists and Variations
This recipe is a playground. Here are some of my favorite ways to switch things up:
Chocolate Ripple
Fold in a tablespoon of melted dark chocolate after the final blend for a chocolatey undertone. The chocolate adds richness without overpowering the fruit.
Minty Freshness
Add a few fresh mint leaves before blending. The mint infuses a cool, herbal note that pairs beautifully with the berries.
Spiced Variation
Sprinkle a pinch of ground cinnamon or nutmeg into the blend for a warm, aromatic twist. This works especially well during the fall months.
Almond Delight
Replace the milk with almond milk and add a tablespoon of almond butter for a nutty flavor. This variation adds protein and a creamy texture that’s surprisingly smooth.
Coconut Island
Use coconut milk and top the finished dessert with toasted coconut flakes. The coconut adds a tropical flair that’s perfect for a beach‑themed party.
Berry Burst Explosion
Add a handful of frozen blueberries or blackberries to the blend. The extra berries deepen the color and add a subtle tartness that elevates the overall flavor profile.
Storing and Bringing It Back to Life
Fridge Storage
Store the finished dessert in an airtight container in the refrigerator for up to three days. The cold will keep the texture firm, and the berries will maintain their vibrant color. When you’re ready to serve, give it a quick stir to re‑incorporate any settled ice crystals.
Freezer Friendly
For longer storage, keep the dessert in a freezer‑safe container for up to two weeks. Wrap the container tightly with plastic wrap to prevent freezer burn. When you’re ready to enjoy, let it thaw for ten minutes before scooping.
Best Reheating Method
To revive a frozen dessert, place the container in a bowl of warm water for five minutes. Add a tiny splash of water or milk to create steam, which helps the dessert regain its silky texture. Avoid microwaving, as it can cause uneven heating and alter the flavor.