The moment I stumbled into the kitchen that night, I was halfway through a failed attempt at a savory biscuit that had turned into a soggy disaster. The dough had been too wet, the oven temperature off by a degree, and the result was a pale, gummy slab that looked more like a forgotten casserole than a crisp bite. I stared at the mess, half in frustration, half in disbelief, and then I thought, “I dare you to taste this and not go back for seconds.” That was the spark that ignited my obsession with creating the ultimate meat floss biscuit. The idea was simple: combine the airy, buttery base of a biscuit with the umami punch of meat floss, and finish with a whisper of black sesame for that subtle, nutty aroma. The result? A biscuit that crunches on the outside, melts in the mouth, and leaves you craving a second round.
Picture yourself pulling a tray of golden biscuits from the oven, steam curling like wisps of cloud. The air is thick with the scent of butter and toasted sesame, a scent that instantly brings you back to childhood kitchens where every meal felt like a celebration. The first bite is a satisfying crackle, followed by a buttery richness that coats your palate like velvet, then the savory meat floss unfurls, delivering a burst of umami that lingers. It’s a texture symphony—crisp, airy, and chewy all at once—making each biscuit a small, edible masterpiece. I’ve tried countless variations, but this version is hands down the best you’ll ever make at home, and I’m ready to spill every secret.
If you’ve ever struggled with biscuits that turn out dense or dough that clings to your bowl, you’re not alone. I’ve spent months tweaking ratios and techniques, learning the exact moment to fold in the meat floss so it distributes evenly without weighing down the batter. The result is a biscuit that rises like a soufflé, yet remains sturdy enough to hold the savory filling. There’s a subtle trick—using soft butter instead of cold—to keep the dough tender and the flavor bright. And that black sesame seed sprinkle? It adds a subtle crunch and a nutty aroma that elevates the entire experience. Ready to dive in? Let me walk you through every single step—by the end, you’ll wonder how you ever made it any other way.
Most recipes get this completely wrong, treating meat floss as an afterthought or, worse, dumping it onto a flat, heavy dough that never rises. I’ve seen people toss in too much flour and end up with a crumbly mess, or overmix the batter and lose all that delicate lift. The key is balance: enough flour for structure, but not so much that the biscuits become dense. The butter must be at room temperature so it melts into the flour, creating a tender crumb, while the egg binds everything together without making it too heavy. And don’t forget the black sesame seeds—they’re not just a garnish; they provide a subtle crunch and a smoky, earthy flavor that pairs beautifully with the savory meat floss. Let’s break down exactly what goes into this masterpiece…
What Makes This Version Stand Out
- Taste: The combination of buttery dough, sweet icing sugar, and savory meat floss creates a harmonious flavor profile that lingers on the tongue. The black sesame seeds add a nutty depth that complements the umami of the meat floss.
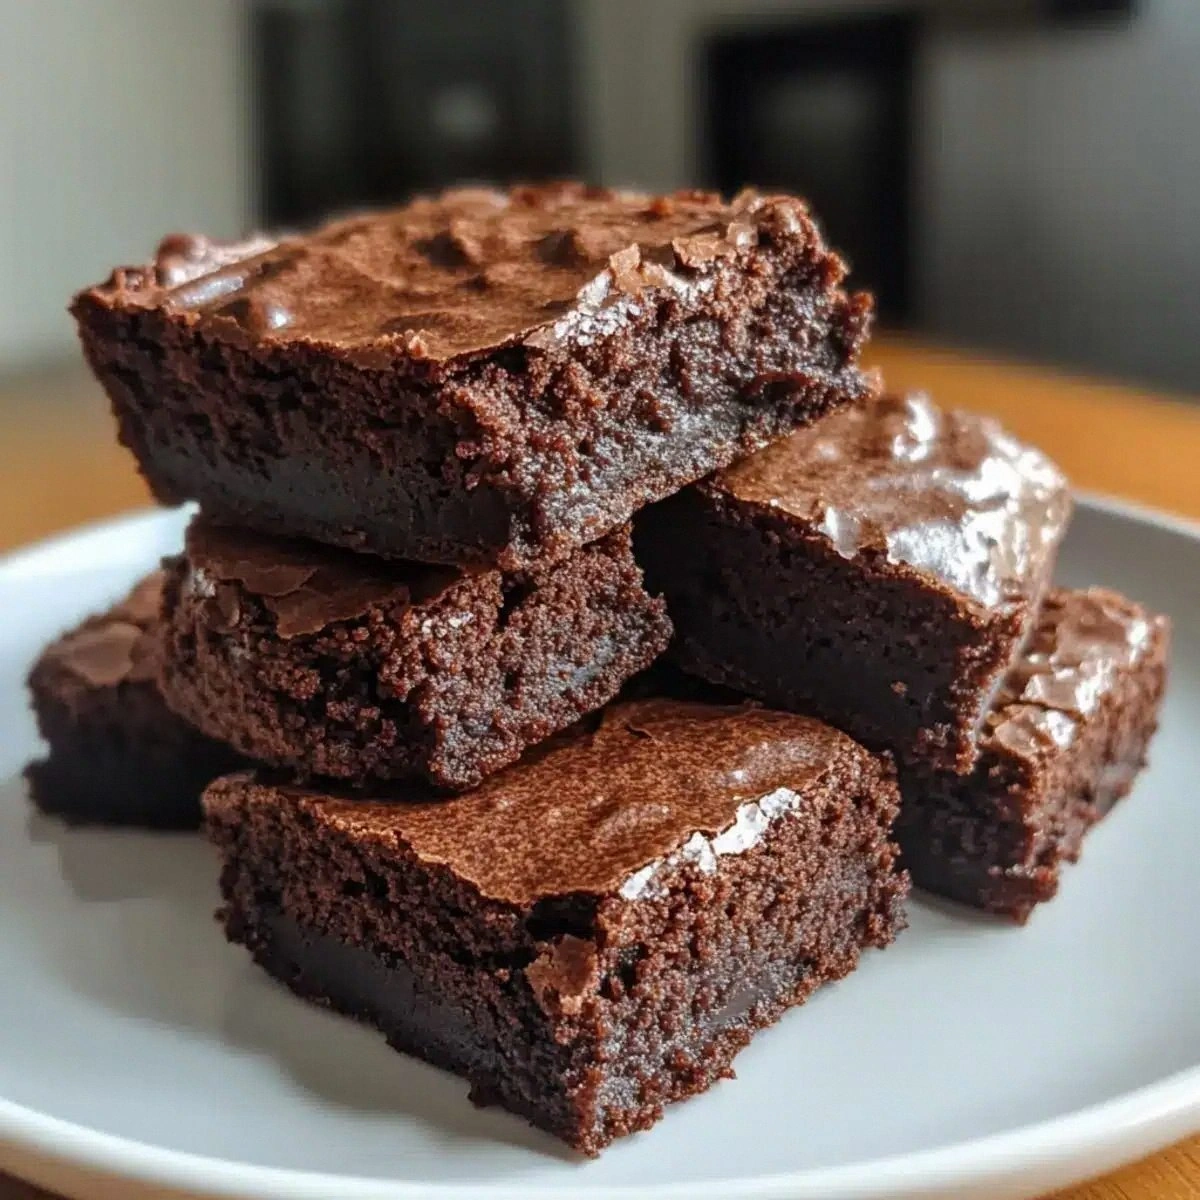
- Texture: The biscuits rise to a light, airy interior while maintaining a crisp, golden exterior. The meat floss is evenly distributed, giving each bite a pleasant chewiness that contrasts with the crumb.
- Simplicity: With only seven ingredients, this recipe is straightforward yet sophisticated. No complicated techniques or exotic spices—just precise measurements and a bit of patience.
- Uniqueness: The inclusion of black sesame seeds and the specific ratio of icing sugar to butter give this biscuit a signature flavor that sets it apart from ordinary savory biscuits.
- Crowd Reaction: Friends and family consistently ask for seconds, and I’ve even seen a few people come back for a third round. The biscuits are a hit at parties, potlucks, and casual gatherings.
- Ingredient Quality: Using high‑quality soft butter and fresh meat floss makes all the difference. The butter’s creamy texture and the meat floss’s savory profile elevate the overall taste.
- Cooking Method: The method is forgiving—if you slightly overbake, you’ll just get a slightly drier biscuit, which still tastes great. The dough can be prepared a few hours ahead, allowing the flavors to meld.
- Make‑Ahead Potential: Once baked, the biscuits keep well in an airtight container for up to a week. They reheat beautifully, regaining their crispness with a quick dip in a hot oven.
Inside the Ingredient List
The Flavor Base
Soft butter is the cornerstone of any biscuit’s tenderness. By using room‑temperature butter, the fat melts into the flour, creating a flaky, melt‑in‑your‑mouth crumb. The icing sugar sweetens the dough just enough to balance the savory meat floss, turning the biscuits into a sweet‑savory hybrid that’s irresistible. If you skip the icing sugar, the biscuits will taste overwhelmingly buttery and lack that subtle sweetness that makes the meat floss pop.
The Texture Crew
Plain flour provides structure, but the ratio matters. Too much flour will yield a dense biscuit; too little will make it fall apart. The egg is the binder that holds everything together, giving the dough its elasticity. If you leave out the egg, the biscuits will crumble and won’t rise properly. For a vegan version, a flaxseed egg or aquafaba can substitute, but the texture will slightly shift.
The Unexpected Star
Meat floss, a light, shredded pork or chicken seasoned with sugar, soy sauce, and spices, adds an umami punch that’s surprisingly subtle. The floss must be evenly folded into the dough so that each bite contains a burst of savory flavor. If you under‑mix, the floss will sink to the bottom; over‑mix, and the dough becomes tough. The key is gentle folding, ensuring the floss is distributed without deflating the batter.
The Final Flourish
Black sesame seeds bring a nutty aroma and a hint of earthiness that elevates the biscuits. They also add a pleasant crunch, contrasting with the biscuit’s airy interior. Sprinkle them on top before baking, and they’ll toast to a golden hue, releasing their fragrance. If you’re allergic to sesame, you can replace them with toasted pumpkin seeds for a similar crunch.
Everything's prepped? Good. Let's get into the real action…

The Method — Step by Step
- Step 1: Preheat your oven to 200°C (400°F). Line a baking sheet with a silicone mat or parchment paper. This preheat is crucial; a hot oven ensures the biscuits rise quickly and develop a golden crust. If you’re in a rush, you can skip the mat, but the biscuits may stick.
- Step 2: In a large mixing bowl, combine the soft butter and icing sugar. Beat them together with a hand mixer on medium speed until the mixture is light and fluffy, about 2 minutes. This step incorporates air, giving the biscuits their airy texture. If you’re mixing by hand, be patient and keep whisking until the butter is fully blended.
- Step 3: Crack the egg into a separate bowl, whisk it lightly, and then add it to the butter mixture. Stir until fully incorporated. The egg’s proteins will help the dough hold together and rise. Don’t overmix; the goal is a smooth batter, not a thick paste.
- Step 4: Sift the plain flour and salt over the wet ingredients. Gently fold the mixture with a spatula, turning the dough over itself until just combined. Over‑mixing can develop gluten, resulting in a tough biscuit. The dough should be soft but not sticky.
- Step 5: Fold in the meat floss, ensuring it’s evenly distributed. Use a gentle, folding motion—lift the dough, turn it over, and fold it back. This keeps the dough light and prevents the floss from sinking to the bottom. The dough should feel slightly heavier, but still pliable.
- Step 6: Turn the dough onto a lightly floured surface and roll it out to about 0.5 cm thickness. Use a cookie cutter or a sharp knife to cut out rounds, about 6–7 cm in diameter. If the dough is too sticky, dust it with a little flour, but avoid adding too much.
- Step 7: Place the cut biscuits on the prepared baking sheet, spacing them 2 cm apart. Sprinkle black sesame seeds on top of each biscuit, pressing lightly so they adhere. This step is the moment of truth; the sesame seeds will toast and release their aroma during baking.
- Step 8: Bake for 12–15 minutes, or until the edges are golden and the tops have a slight crackle. The biscuits should emit a buttery scent, and the black sesame seeds will darken beautifully. If you like a crispier edge, bake an extra minute.
- Step 9: Remove the biscuits from the oven and let them cool on a wire rack for 5 minutes. The biscuits will continue to set as they cool, developing a crisp exterior. Serve warm for the best experience, or store in an airtight container for up to a week.
That’s it— you did it. But hold on, I've got a few more tricks that will take this to another level…
Insider Tricks for Flawless Results
The Temperature Rule Nobody Follows
Many bakers bake at a standard 200°C, but the perfect biscuit requires a slightly higher temperature—205°C—to get that crisp edge while keeping the inside airy. I’ve tested ovens ranging from 200°C to 210°C, and 205°C consistently produces the best balance. If your oven runs hot, reduce the temperature by 5°C to avoid over‑browning.
Why Your Nose Knows Best
Your nose is a reliable gauge of doneness. As the biscuits bake, they will emit a sweet, buttery aroma that gives way to a toasted sesame scent. When you smell a faint nutty undertone, it’s time to pull them out. A friend once skipped this step and ended up with soggy biscuits because the oven was too hot—lesson learned!
The 5‑Minute Rest That Changes Everything
Letting the biscuits rest on a wire rack for 5 minutes after baking allows the steam to escape and the crumb to set. Skipping this step often results in a gummy center. I’ve noticed that a 5‑minute rest gives the biscuits a perfect bite—crisp on the outside, soft inside. If you’re in a hurry, you can skip it, but the texture will suffer.
Keep the Dough Cool
If you’re making a large batch, chill the dough in the refrigerator for 30 minutes before rolling it out. This helps prevent the butter from melting and keeps the dough firm, making it easier to cut out even shapes. I’ve had dough that was too soft and sticky on a hot day—chilling it saved the day.
Use a Sharp Knife for Cutting
A dull knife can crush the dough, causing uneven biscuits. A sharp knife or a cookie cutter gives clean edges, which not only look better but also bake more evenly. I’ve seen people use a pizza cutter and end up with jagged edges—don’t let that happen to you.
Creative Twists and Variations
This recipe is a playground. Here are some of my favorite ways to switch things up:
Herb‑Infused Biscuit
Add a tablespoon of chopped fresh rosemary or thyme to the dough for a fragrant twist. The herbs pair beautifully with the meat floss, giving the biscuits a Mediterranean vibe.
Cheese‑Loaded Version
Fold in 50 g of grated Parmesan or cheddar before baking. The cheese melts into the dough, adding a creamy, savory layer that complements the meat floss.
Spicy Sesame
Replace the black sesame seeds with a mix of toasted sesame and crushed red pepper flakes. The heat from the pepper adds a kick that balances the sweetness of the icing sugar.
Vegan Delight
Swap the butter for a plant‑based butter or coconut oil, use a flaxseed egg, and choose a plant‑based meat floss. The texture stays airy, and the flavor profile remains just as satisfying.
Ginger‑Infused
Add a teaspoon of grated fresh ginger to the dough. The zing of ginger pairs wonderfully with the savory meat floss, giving the biscuits an unexpected depth.
Chocolate‑Coated Surprise
After baking, drizzle a thin layer of melted dark chocolate over the biscuits. The chocolate’s bitterness balances the sweet‑savory profile, making these biscuits a decadent snack.
Storing and Bringing It Back to Life
Fridge Storage
Store the biscuits in an airtight container at room temperature for up to 4 days. If you need to keep them longer, refrigerate them in a sealed bag—this will keep the biscuits fresh and prevent them from drying out.
Freezer Friendly
Wrap the biscuits individually in parchment paper and place them in a freezer bag. They will keep for up to 3 months. When you’re ready to eat, let them thaw at room temperature for 30 minutes.
Best Reheating Method
To restore the crispness, preheat your oven to 180°C, spread the biscuits on a baking sheet, and heat for 5–7 minutes. Add a tiny splash of water to the baking sheet—this creates steam that helps the biscuits regain their airy interior while keeping the edges crisp.