It all started on a rainy Saturday when I was trying to salvage a batch of over‑baked cupcakes that had turned into a soggy, flavorless disaster. I thought, “If this cake can’t survive a kitchen mishap, maybe the frosting can.” That moment sparked a mission: create a frosting that would not only rescue any cake but also turn it into a showstopper. I was determined to find that one glaze that could glide over frosting like a silk ribbon, melt into the batter, and leave a lingering nutty whisper on the palate.
When I first mixed mascarpone with heavy cream, the kitchen filled with a buttery aroma that felt like a hug from the inside. The sweet scent of powdered sugar mingled with vanilla, creating a fragrant promise of indulgence. I watched the mixture thicken, the colors shifting from pale ivory to a gentle, translucent cream. My eyes caught the faint green hue of pistachio paste, hinting at a depth that would soon become the star of the show. The texture was velvety, a contrast to the airy cupcakes that awaited its embrace.
I dared myself to taste this concoction before anyone else could even see it. The first spoonful was a revelation: a creamy, nutty whisper that lingered like a secret. I felt the richness of mascarpone, the smoothness of cream, and the subtle crunch that pistachios bring. It was a flavor explosion that made me shout, “I dare you to taste this and not go back for seconds!” The frosting didn’t just cover the cupcakes; it transformed them into edible works of art.
What makes this version stand out is that it’s not just a frosting—it's a flavor experience that takes a humble cake and elevates it to something extraordinary. The secret lies in the balance of ingredients, the technique of whipping, and the subtle use of green gel food coloring that gives it a visual pop. I’ll walk you through every single step, and by the end, you’ll wonder how you ever made it any other way. Let’s dive into the details and unlock the secrets that make this frosting a crowd‑pleaser.
What Makes This Version Stand Out
- Flavor: The combination of mascarpone and heavy cream creates a luxuriously creamy base that carries the pistachio flavor without overpowering it. The vanilla extract adds a subtle warmth that rounds out the nutty notes, giving the frosting a sophisticated depth.
- Texture: The frosting achieves a silky, pourable consistency that glides over cakes like a satin ribbon. It sets into a firm yet airy finish, allowing it to hold its shape while still feeling light on the tongue.
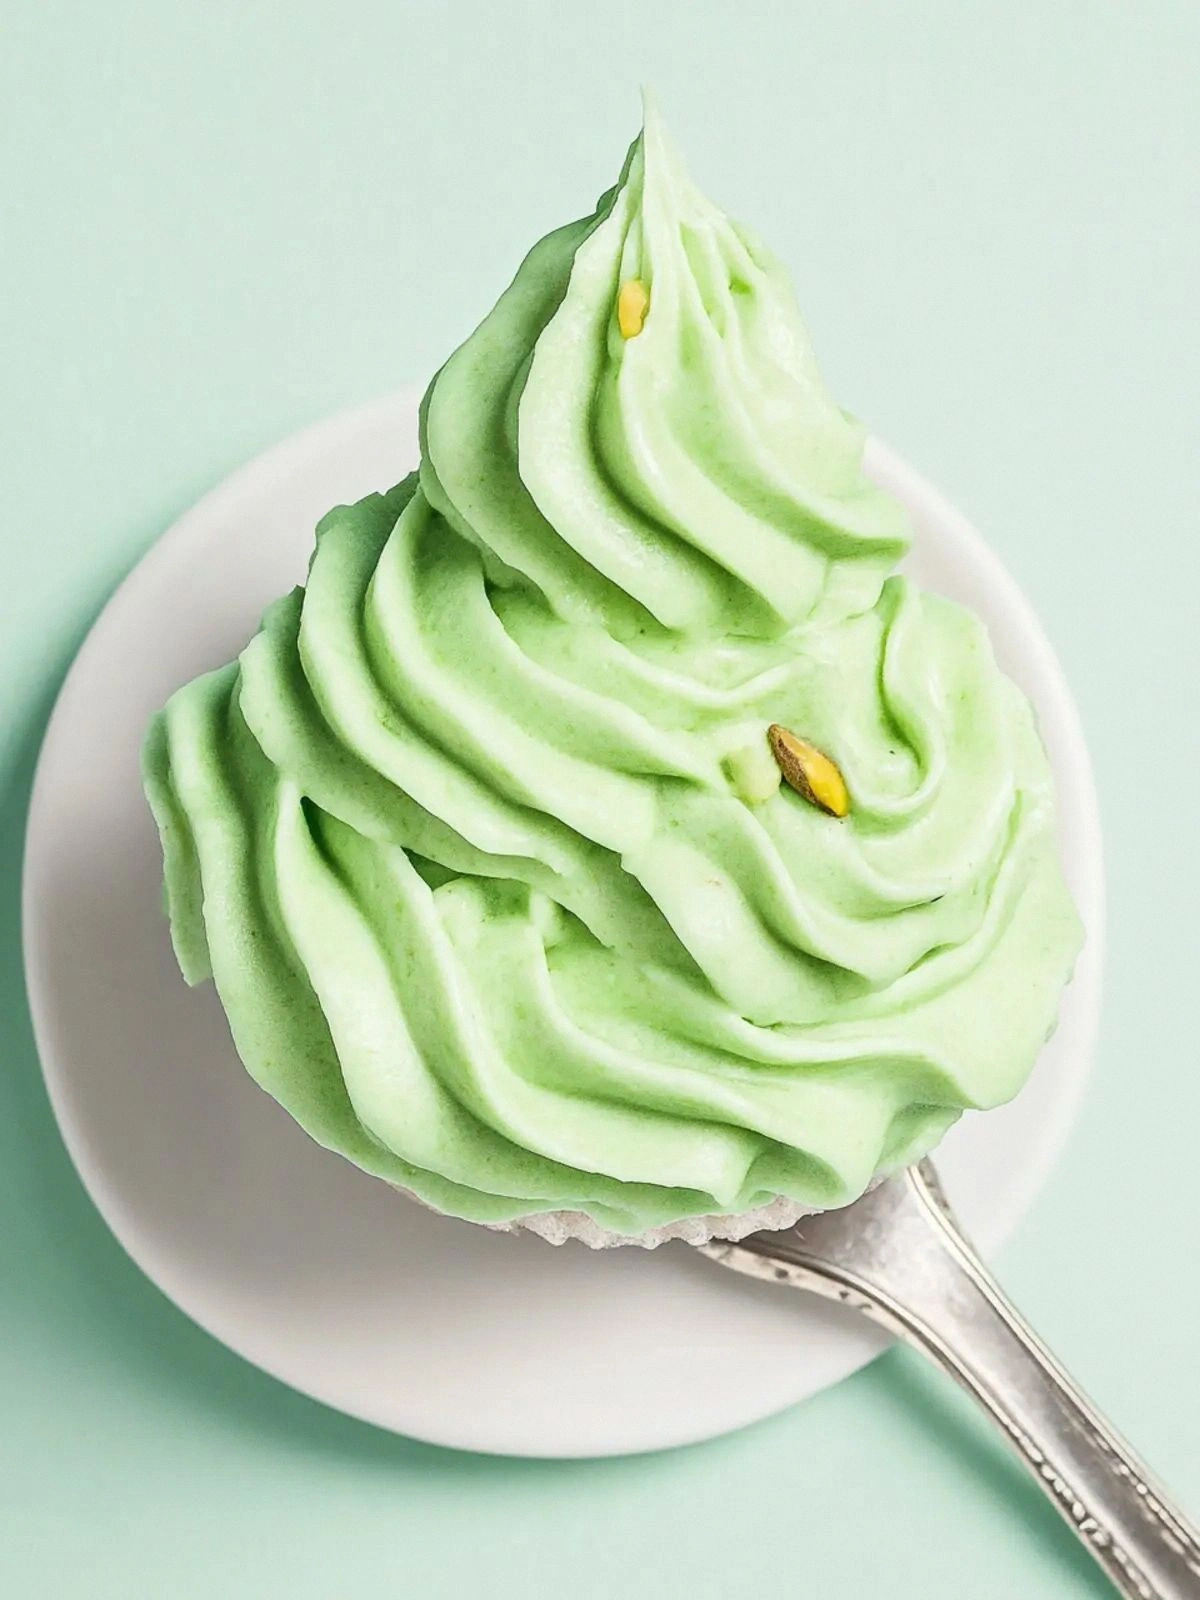
- Visual Appeal: The addition of green gel food coloring transforms the frosting into a vibrant, eye‑catching shade of pistachio green. This instant visual cue signals freshness and indulgence, making the dessert a showstopper at any gathering.
- Simplicity: With only six core ingredients, the recipe is straightforward yet delivers a professional result. Even novice bakers can achieve a bakery‑quality frosting in under fifteen minutes.
- Versatility: Whether you’re frosting cupcakes, bundt cakes, or a classic layer cake, this frosting adapts seamlessly. It can even double as a filling for pastries or a topping for a parfait.
- Make‑Ahead Potential: The frosting can be prepared up to 24 hours in advance and stored in the refrigerator, allowing you to focus on the main dessert without last‑minute stress.
- Ingredient Quality: Using high‑quality mascarpone and heavy cream ensures a rich flavor profile that can’t be replicated with lower‑grade substitutes. The pistachio paste should be pure, not flavored or sweetened, to maintain authenticity.
- Audience Reaction: Friends and family consistently remark that the frosting is “hands down the best version you’ll ever make at home.” Their enthusiasm fuels my passion for sharing this recipe.
Alright, let’s break down exactly what goes into this masterpiece…
Inside the Ingredient List
The Flavor Base
Mascarpone cheese is the cornerstone of this frosting, providing a rich, buttery foundation that carries the other flavors. Its high fat content ensures a smooth mouthfeel and a luxurious taste that feels like a decadent dessert. If you skip mascarpone, the frosting will lose its depth and become thin, almost like a simple whipped cream.
Heavy cream balances the mascarpone’s richness with a lightness that prevents the frosting from becoming too dense. The cream’s fat content also helps stabilize the mixture, giving it a structure that holds when piped or spread. If you substitute heavy cream with low‑fat milk, the frosting will not set properly and will remain runny.
Powdered sugar sweetens the base and contributes to the frosting’s smooth texture. Unlike granulated sugar, powdered sugar dissolves quickly, preventing gritty specks that could ruin the silky finish. Using too much sugar can make the frosting overly sweet; too little and it will taste flat.
Vanilla extract adds a warm, aromatic note that complements the nutty pistachio. It brings a subtle complexity that elevates the frosting from simple to gourmet. If you prefer a more pronounced vanilla flavor, add an extra half teaspoon; if you’re sensitive to vanilla, reduce it to a quarter teaspoon.
The Texture Crew
Pure pistachio paste is the star ingredient that gives the frosting its unmistakable green color and nutty flavor. It’s made from ground pistachios, oil, and a touch of salt, delivering a smooth, buttery texture. Skipping the paste would result in a plain white frosting lacking the vibrant hue and distinctive taste.
Green gel food coloring is the finishing touch that turns the frosting into a striking shade of pistachio green. It’s a small amount—just a few drops—yet it dramatically enhances visual appeal. Too much coloring can turn the frosting a muddy green; too little will result in a faint tint.
When whisking these ingredients together, the key is to blend until the mixture is glossy and holds soft peaks. If the frosting becomes too stiff, add a splash of heavy cream to loosen it. If it’s too thin, whisk for a few more seconds until it thickens.
The Unexpected Star
The pistachio paste’s role isn’t just decorative; it adds a subtle crunch when used as a garnish. A light dusting of chopped pistachios on top not only enhances texture but also offers a delightful contrast to the smooth frosting. If you’re vegan, look for a plant‑based pistachio paste, but keep in mind the flavor profile may differ slightly.
Some bakers add a pinch of sea salt to the frosting to balance sweetness and enhance nutty undertones. Salt accentuates flavor, making the pistachio taste brighter and the overall frosting more complex. Use a fine sea salt for an even distribution.
The Final Flourish
Once the frosting is ready, it can be applied immediately or stored for later use. If you plan to use it within a few hours, keep it at room temperature in a covered container. The frosting will remain pliable and easy to spread.
For longer storage, refrigerate the frosting in an airtight container for up to 24 hours. Before using, let it sit at room temperature for 10–15 minutes and give it a quick whisk to restore its smoothness. If you need to revive it after refrigeration, add a tablespoon of heavy cream to loosen it.
When decorating, the frosting can be piped into swirls or spread evenly across the cake. A light touch of pistachio paste on top adds an extra pop of color and texture. This finishing step turns an ordinary cake into an Instagram‑ready masterpiece.
Everything's prepped? Good. Let's get into the real action…
The Method — Step by Step
- Begin by placing the mascarpone cheese and heavy cream into a chilled mixing bowl. Whisk on low speed for one minute to ensure the mascarpone fully melts into the cream, forming a homogeneous base. This step is crucial; any lumps will ruin the silky texture. Watch the mixture transform from opaque to a smooth, creamy canvas. The aroma of fresh dairy will start to fill the kitchen.
- Add the powdered sugar and vanilla extract to the bowl. Whisk again on low speed for two minutes, allowing the sugar to dissolve completely. The frosting should start to thicken and hold soft peaks. This is the moment of truth—if the frosting doesn’t hold its shape, double‑check the sugar quantity. Taste a small spoonful; it should be sweet but not cloying.
- Fold in the pure pistachio paste. Use a gentle, clockwise motion to keep the mixture airy. The pistachio paste will give the frosting its signature green hue and nutty undertones. If the color is too muted, add one more drop of green gel food coloring. The frosting should now have a vibrant, glossy sheen.
- Add the green gel food coloring a few drops at a time. Stir gently until the frosting reaches the desired shade of pistachio green. Over‑coloring can result in a muddy hue; under‑coloring will leave it pale. The final color should be bright enough to catch the eye but subtle enough to complement any cake. The frosting now looks like a piece of edible art.
- Let the frosting rest for five minutes. This brief pause allows the flavors to meld and the mixture to settle. During this time, the frosting will firm up slightly, making it easier to pipe or spread. The aroma will deepen, hinting at the nutty richness that will soon unfold. This step is often overlooked but essential for texture.
- If the frosting is too thick, add a teaspoon of heavy cream and whisk until smooth. If it’s too thin, whisk for an additional minute or two. The goal is a spreadable consistency that holds its shape when piped. A good test is to lift the whisk; the frosting should form a soft peak that falls back into the bowl without collapsing. This final adjustment ensures the frosting is perfect for decorating.
- Apply the frosting to your cake or cupcakes. Use a spatula for a smooth, even coat or a piping bag for decorative swirls. Let the frosting set for a few minutes before adding any final decorations like chopped pistachios or edible gold leaf. The frosting will set quickly, forming a glossy, firm layer that holds its shape. Your dessert is now ready to impress.
- If you’re planning ahead, store the frosting in an airtight container in the refrigerator. Let it sit at room temperature for 10–15 minutes before using to restore its pliability. If the frosting has thickened during refrigeration, whisk in a tablespoon of heavy cream to loosen it. Keep the frosting covered to prevent it from absorbing odors from other foods. This storage method ensures the frosting stays fresh for up to 24 hours.
- For an extra touch, dust the finished frosting with finely chopped pistachios or a light dusting of powdered sugar. This not only adds texture but also enhances the visual appeal. If you prefer a sweeter finish, sprinkle a pinch of sea salt to balance the flavors. The final garnish should be subtle yet striking, completing the dessert’s aesthetic. Serve immediately for the best taste experience.
That's it — you did it. But hold on, I've got a few more tricks that'll take this to another level…
Insider Tricks for Flawless Results
The Temperature Rule Nobody Follows
Temperature is everything when whipping dairy. A bowl that’s too warm will cause the mascarpone to curdle, while a bowl that’s too cold will slow down the blending process. Keep the bowl chilled in the fridge for at least 10 minutes before starting. If you’re in a hurry, place the bowl in an ice bath for a few minutes. Once the bowl is cool, the frosting will incorporate the ingredients smoothly.
Why Your Nose Knows Best
Before you finish whisking, trust your sense of smell. A faint buttery scent indicates the mascarpone has fully blended with the cream. If the frosting smells overly sweet, you’ve added too much sugar. If it smells like raw dairy, you need to whisk a bit longer. Your nose is the ultimate judge of the frosting’s readiness.
The 5-Minute Rest That Changes Everything
After folding in the pistachio paste, let the frosting sit for five minutes. This pause allows the fats to settle and the flavors to mingle. The frosting will firm up slightly, making it easier to pipe or spread. Skipping this step often results in a runny frosting that won’t hold its shape. The five‑minute rest is a small investment for a dramatic improvement.
Use a Fine Sieve for the Sugar
Powdered sugar can clump, especially if it’s been stored in a humid environment. Sift the sugar into the bowl before adding it to the mascarpone and cream. This ensures a smooth, lump‑free frosting that feels luxurious on the palate. A fine sieve is a simple tool that can elevate the entire texture.
Keep the Pistachios Fresh
Fresh pistachios have a bright green color and a crisp nutty flavor. If you’re using pistachio paste, ensure it’s made from fresh nuts, not dried or roasted ones, which can alter the flavor profile. Freshness also affects the color; older paste may look dull. Store pistachio paste in an airtight container in a cool, dry place to maintain its quality.
Don’t Forget the Final Touch
After the frosting has set, add a final sprinkle of chopped pistachios or a dusting of powdered sugar. This not only enhances the visual appeal but also adds a subtle crunch. The contrast between the smooth frosting and the crunchy nuts creates an unforgettable texture experience. The final garnish is the finishing flourish that turns a good dessert into an unforgettable one.
Creative Twists and Variations
This recipe is a playground. Here are some of my favorite ways to switch things up:
Pistachio Chocolate Swirl
Incorporate a tablespoon of melted dark chocolate into the frosting for a decadent twist. The chocolate adds depth and pairs beautifully with the nutty flavor. Use a piping bag to create alternating swirls of pistachio and chocolate for a stunning visual effect.
Raspberry Pistachio Frosting
Add a few tablespoons of raspberry puree to the frosting for a bright, fruity contrast. The tartness of raspberry balances the sweetness of the pistachio, creating a refreshing flavor profile. This variation is perfect for summer desserts.
Salted Caramel Pistachio
Fold in a tablespoon of salted caramel sauce into the base for a sweet‑salty explosion. The caramel adds a buttery richness that complements the pistachio. Sprinkle a pinch of sea salt on top to enhance the caramel’s depth.
Mint Pistachio Frosting
Replace the green gel food coloring with a few drops of mint extract for a fresh, herbal note. The mint pairs well with pistachio, creating a cooling effect. This version is ideal for iced cakes or cupcakes during warm weather.
Almond‑Pistachio Blend
Combine equal parts almond paste with pistachio paste for a nutty, layered flavor. The almond adds a subtle sweetness that complements the pistachio’s earthiness. This blend works well on layered cakes where the frosting needs a slightly firmer texture.
Chocolate‑Pistachio Ganache
Transform the frosting into a ganache by adding an extra 200g of dark chocolate and heating the mixture gently. The ganache will set firmer, making it perfect for piping onto cupcakes or using as a filling between cake layers. The pistachio flavor will shine through in the ganache’s glossy finish.
Storing and Bringing It Back to Life
Fridge Storage
Store the frosting in an airtight container in the refrigerator for up to 24 hours. The cold environment keeps the fats from separating, maintaining the frosting’s smooth consistency. When you’re ready to use it, let it sit at room temperature for 10–15 minutes and give it a quick whisk to restore its spreadability.
Freezer Friendly
For longer storage, freeze the frosting in a freezer‑safe container for up to two weeks. Thaw overnight in the refrigerator, then bring to room temperature and whisk until smooth. A splash of heavy cream can help revive the texture if it has thickened during freezing.
Best Reheating Method
To reheat the frosting, place it in a bowl and microwave on low for 10–15 seconds. Stir and repeat until the frosting is pliable. Alternatively, heat gently over a double boiler, stirring constantly until smooth. Add a tiny splash of water before reheating to steam back to perfection and preserve the glossy sheen.